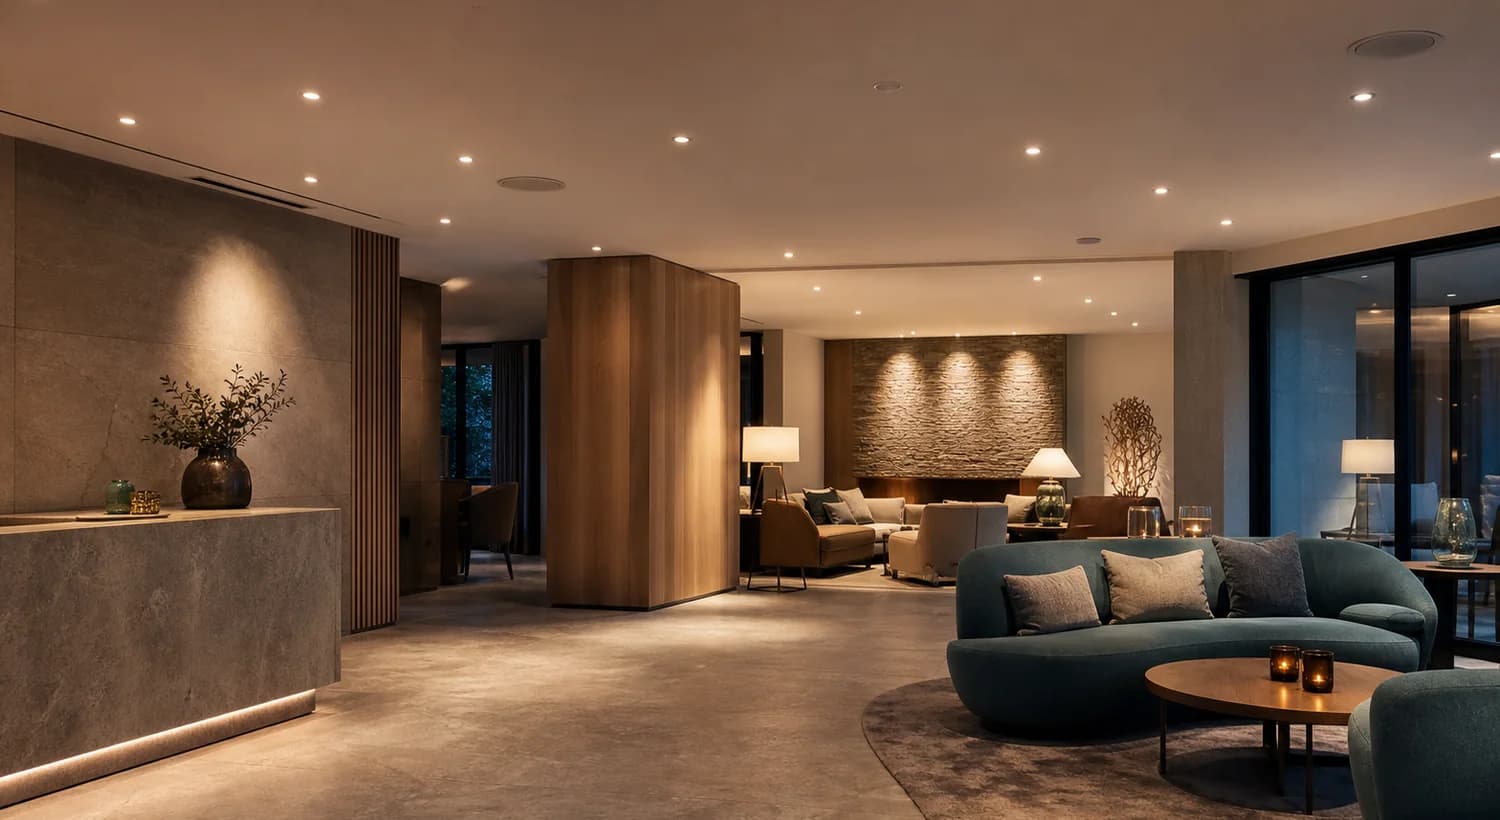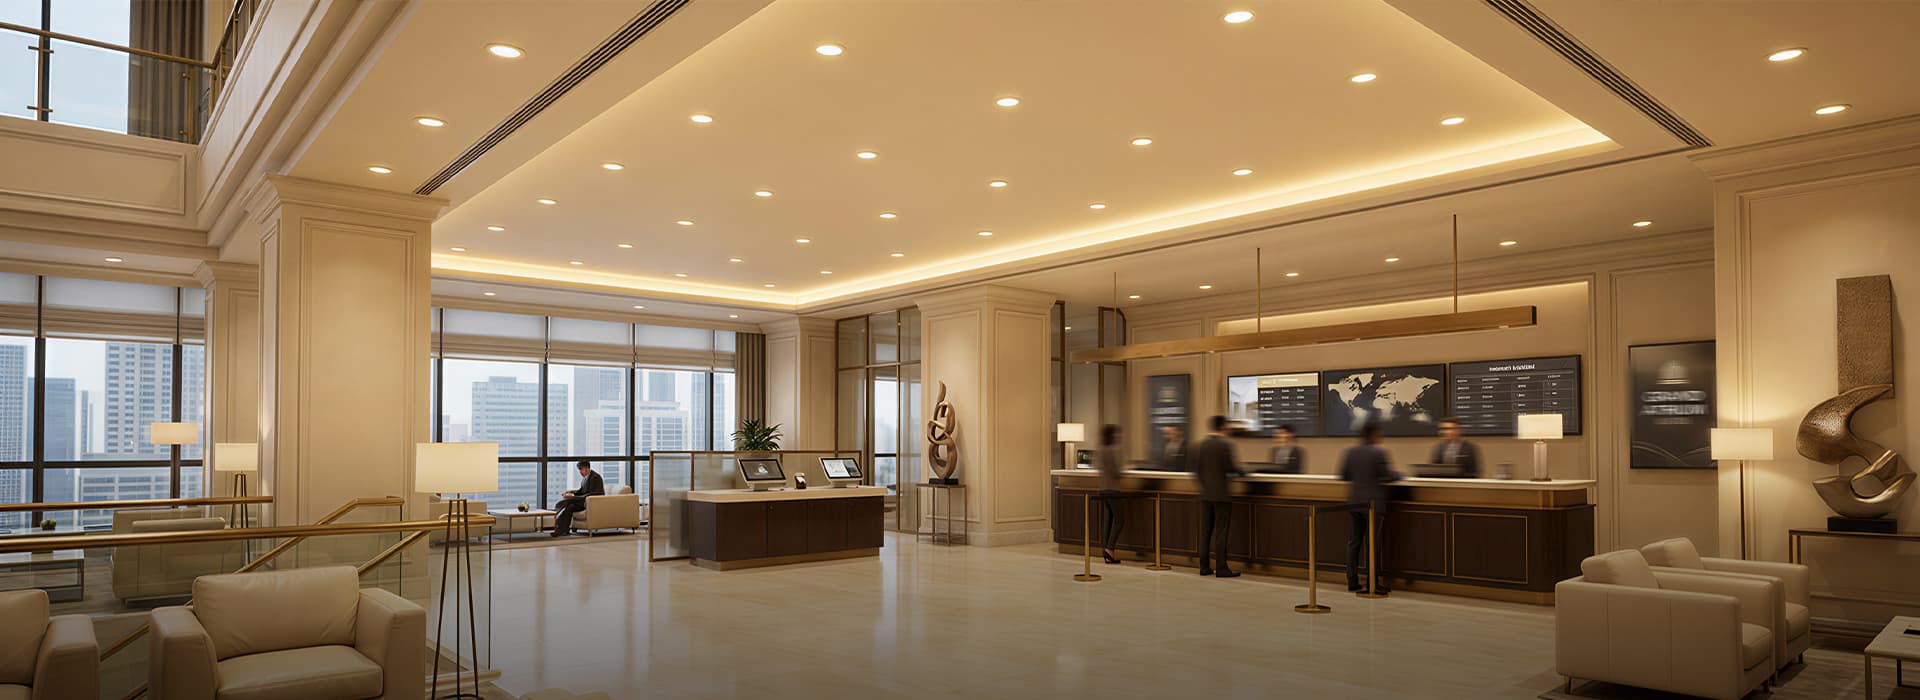
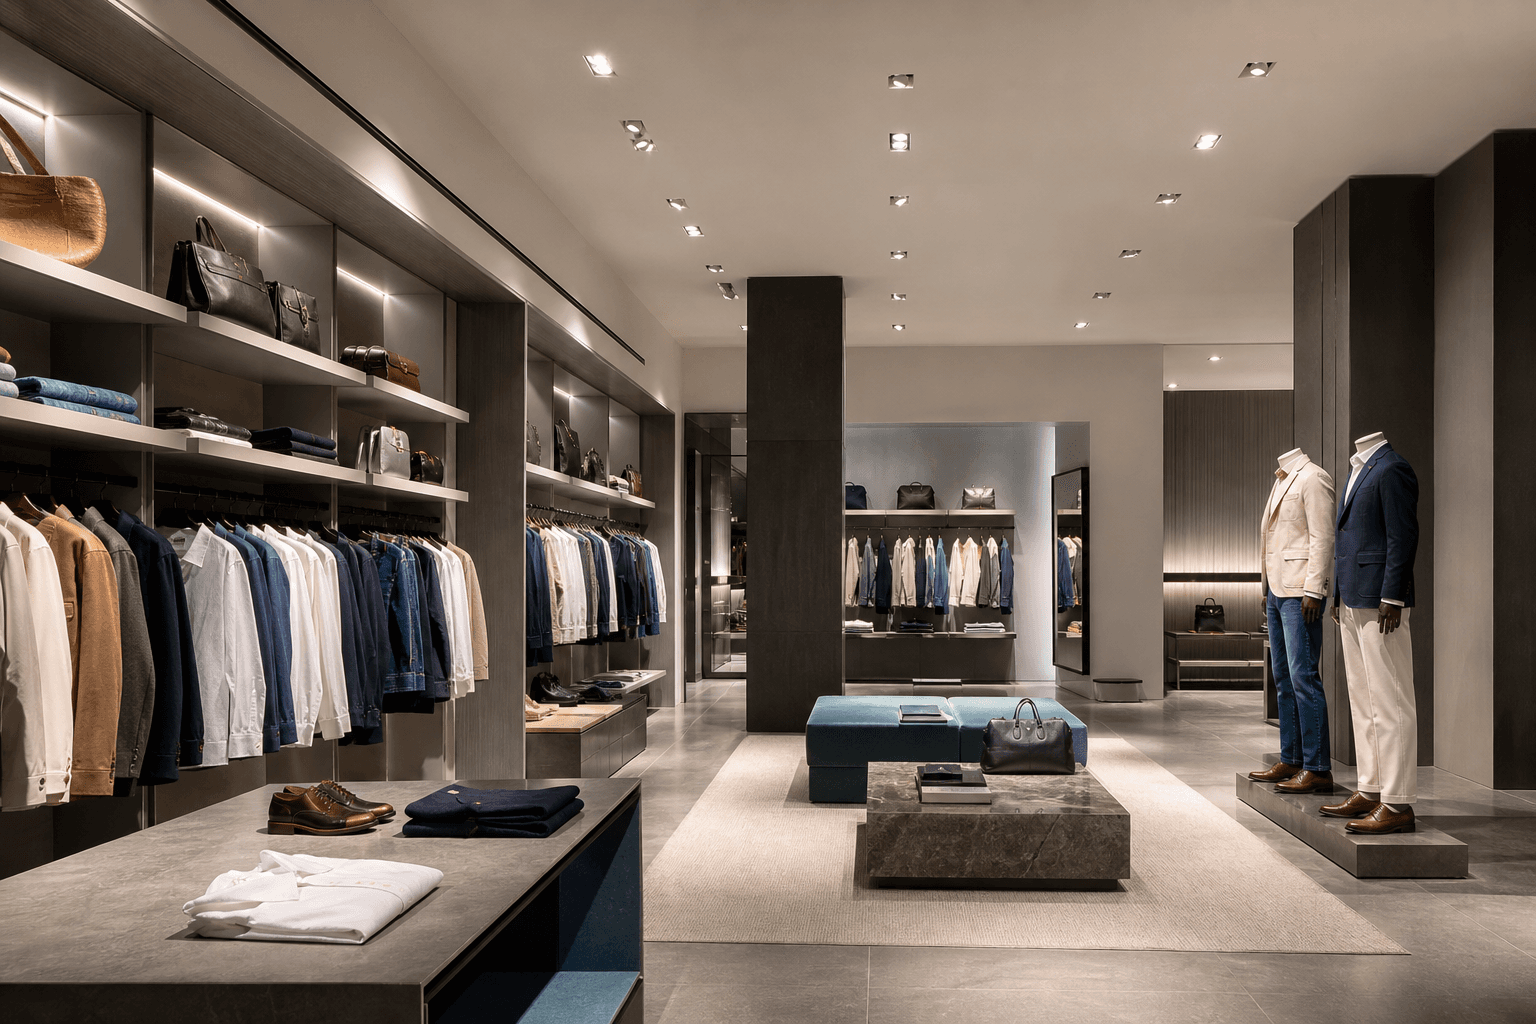
High brightness does not automatically create high-quality commercial lighting. A high CRI LED downlight can help products and interior materials appear more natural, but CRI is only one part of the decision. Ordinary luminaires may make jewelry, fashion, food, wood and skin tones look grey, shifted or visually flat even when the measured light level is high.
Visual comfort matters at the same time. An exposed source, excessive luminance or poorly directed beam can produce harsh lighting and direct glare. In a brand store, restaurant or hotel, that discomfort can distract attention from the merchandise, table or interior experience.
Retail and hospitality lighting therefore need a balance of color quality, visual comfort and optical control. This guide explains CRI and R9, SDCM color consistency, low-glare structures, beam angle and cut-off angle, application-specific selection and a practical sample-testing process. Buyers can also review the complete low-glare LED downlight selection path before requesting a project-specific configuration.
Share your application, ceiling height, target material, preferred beam angle, color-rendering requirement and estimated quantity. ANOVA can help review suitable LED module, reflector, trim and driver configurations for your project.
Why high CRI alone does not guarantee accurate red colors
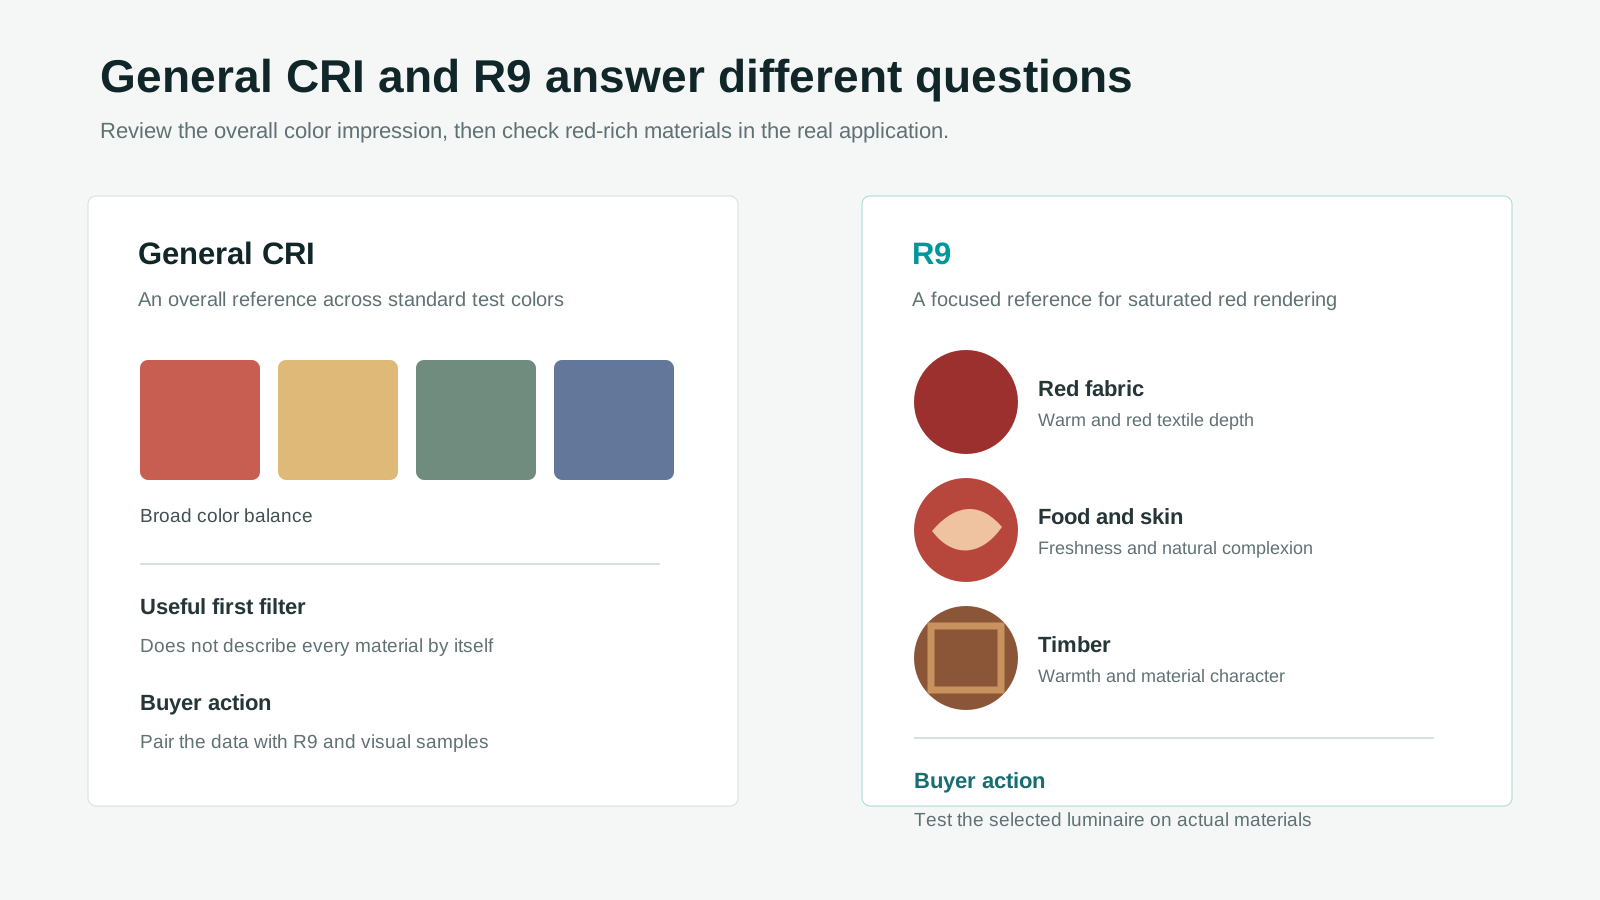
Color Rendering Index, usually shortened to CRI, describes how a light source reproduces a set of standard colors compared with a reference source. General CRI, often shown as Ra, is a useful first filter for architectural lighting because it indicates overall color-rendering performance.
A high general score does not guarantee strong saturated-red performance. Two luminaires with the same CRI can still make food, skin, timber or red textiles look different. The spectral balance and the individual color samples behind the average matter, so a project team should not approve a fixture from the Ra value alone.
Why R9 matters for food, skin, wood and textiles
R9 describes how a light source renders a saturated red test color. It is relevant because red content appears in meat, skin tones, timber, warm interior finishes, red and brown fabrics, jewelry packaging and many luxury displays.
Weak red rendering can make food look less fresh, skin appear pale, timber lose warmth and colored textiles shift away from the buyer's expectation. In jewelry lighting, the packaging, metal finish and surrounding materials can also lose depth even if the gemstone itself remains bright.
ANOVA can provide confirmed configurations with R9 above 80, depending on the product model and project specification. This should not be treated as the default for every module. Buyers should request the relevant data and test the selected configuration on actual materials.
How color consistency affects multi-store projects
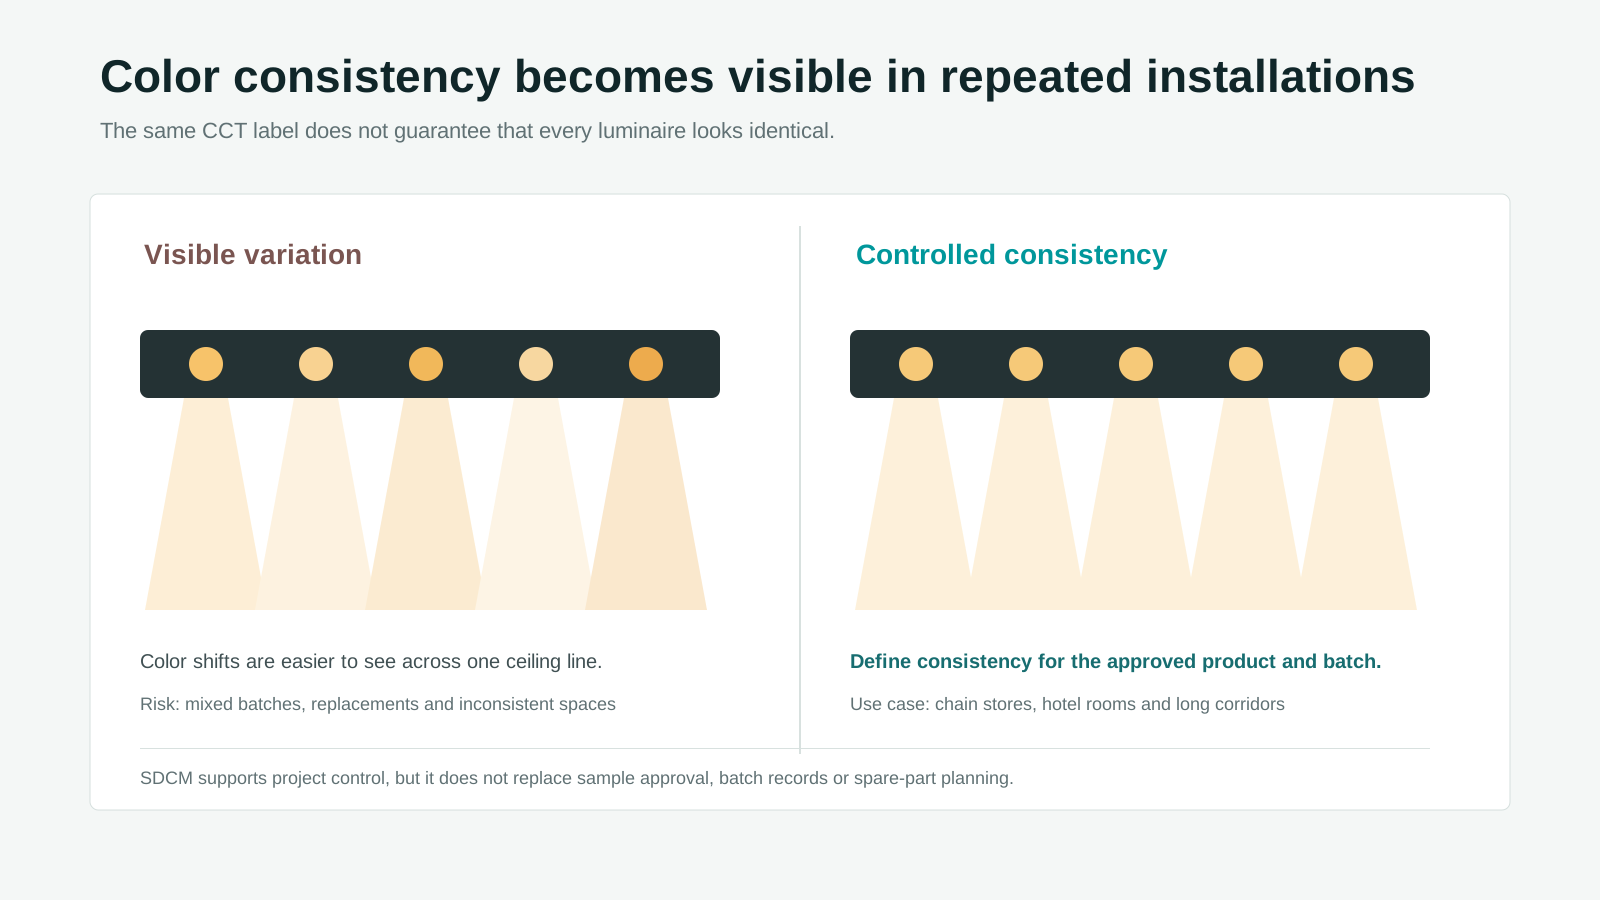
The same CCT label does not mean every luminaire will look identical. SDCM, related to MacAdam ellipse classification, is a practical way to describe how closely light colors are grouped. Smaller variation is especially useful when several downlights are visible together.
Color differences can be noticed across a large ceiling, a row of display cases, hotel corridors or repeated guest rooms. They become more obvious when a replacement luminaire sits beside older units or when stores receive products from different batches.
A confirmed color-consistency option of 3 SDCM or tighter can help control visible variation in one space or across a chain program. It does not replace sample approval, batch records or a replacement strategy; it gives the buyer a clearer consistency requirement to manage.
What is a low glare downlight?
A low glare downlight is designed to reduce the chance that people directly see a high-luminance source. Low glare does not simply mean lower output. A project still needs useful light on merchandise, tables, artwork and circulation surfaces.
Common glare sources include an exposed LED, shallow reflector, excessive brightness, incorrect beam direction, high luminance in the field of view, unsuitable spacing and poor cut-off design. These problems can create visual discomfort even when the lux target is achieved.
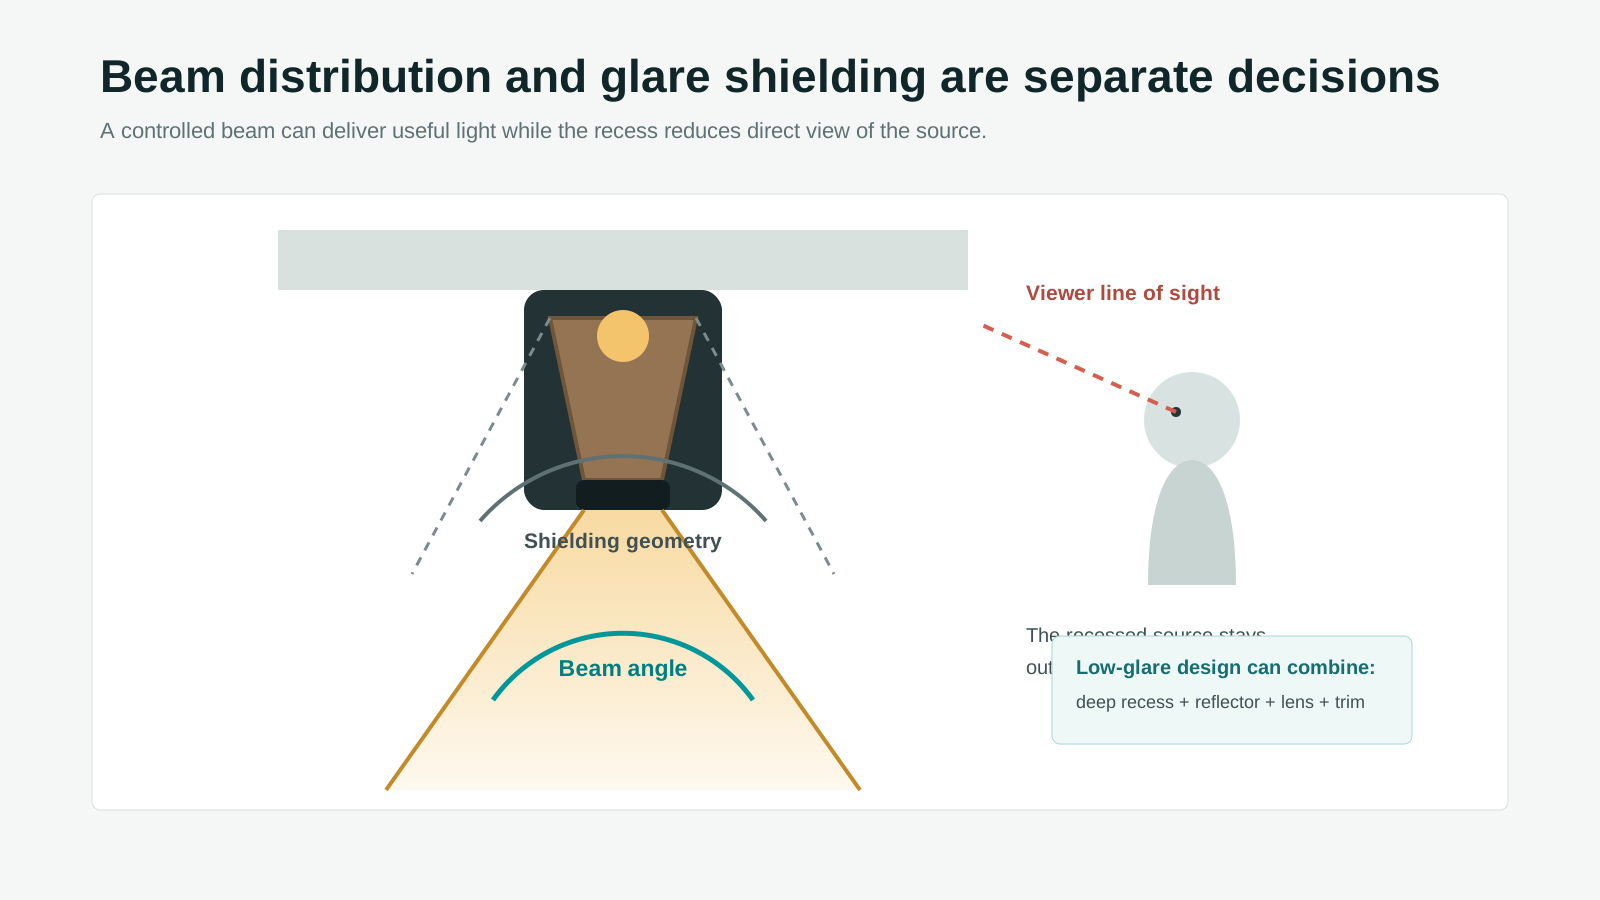
A low-glare structure may use a deeply recessed source, suitable reflector depth, controlled cut-off angle, anti-glare trim, dark or low-reflectance internal surfaces, a precise lens and a controlled beam. The objective is to place light on the target while reducing direct view of the bright source. Compare these factors with the available commercial downlight configurations. A specific UGR value should only be used when it has been tested for the relevant luminaire and layout.
Beam angle and cut-off angle are not the same
Beam angle describes the spread of the main light beam. It affects spot size, coverage and contrast. Cut-off angle relates to how effectively the luminaire shields the bright source from a viewer and therefore has a stronger relationship with direct glare.
A narrow beam is not automatically low glare, and a deeply recessed source does not automatically create a narrow beam. Both angles need to be considered with ceiling height, viewing position, aiming direction and the location of the display or surface.
Beam angle
Use beam angle to match the light distribution to the target. Narrow beams create focused emphasis; medium beams balance focus and coverage; wider beams support larger surfaces or ambient layers.
Cut-off angle
Use cut-off and recess geometry to review whether customers or guests can see the luminous source from normal standing, seated and walking positions.
| Item | Beam Angle | Cut-Off Angle |
|---|---|---|
| Main purpose | Controls light distribution | Limits direct view of bright source |
| Affects | Spot size and coverage | Visual comfort and glare |
| Project factors | Ceiling height, distance and target size | Viewing angle, recess depth and reflector |
| Common mistake | Selecting too narrow a beam | Assuming deep recess solves all glare |
High CRI and low glare for jewelry lighting
Jewelry lighting needs sparkle and contrast without losing the color of metals, stones or display materials. Gold, silver and colored gemstones react differently to light, while glass showcases can create reflected glare. Precise placement is more useful than simply increasing brightness.
A compact MR11 spotlight module can support small-scale accent applications where a controlled narrow beam is required. For a confirmed MR11 configuration, an approximately 8-15 degree beam range may be available, subject to final module and optic selection.
Test the actual jewelry, packaging, glass and background material. Review the source from the customer's normal position and check both direct and reflected glare before approving the optical specification.
High CRI for fashion retail lighting
Fashion retail lighting must preserve fabric colors and support natural skin tones in fitting rooms. The sales floor and fitting area should not create a large color-rendering or CCT difference, because customers compare garments across both spaces.
A configurable MR16 LED spotlight solution can serve focused displays, while AR70 or AR111 formats may suit larger ceiling or display conditions. The correct choice depends on mounting distance, beam target and housing.
Avoid placing high-luminance spotlights directly in the customer's view and avoid using one beam angle for walls, racks, mannequins and fitting rooms. Seasonal display changes should be considered during aiming and sample approval.
Restaurant lighting and food presentation
Restaurant lighting affects both atmosphere and how food appears. Meat and red ingredients depend on red rendering, while vegetables, tableware, timber and skin tones need balanced color reproduction. Warm light can feel comfortable without making materials inaccurate.
A suitable restaurant specification combines high CRI, appropriate R9, a controlled beam, glare protection above dining tables and compatible dimming for different service periods. Test on real tables, plates, food samples and finishes rather than judging only a spot on a white wall.
Museum and gallery lighting
Museum lighting and gallery lighting need color fidelity, precise beam control, limited spill light, visual hierarchy and consistent appearance between luminaires. Framed works and protective glass can create reflected glare, so aiming and viewer position matter.
An AR70 lighting module may be considered for controlled accent lighting, while an AR111 format can support larger-scale commercial display conditions. Final suitability must be checked against the housing, optic, distance and project requirements.
Museums may have additional illumination, material-protection and local compliance requirements. Those limits should be confirmed by the project consultant; they should not be inferred from a general product description.
Recommended parameters for different commercial spaces
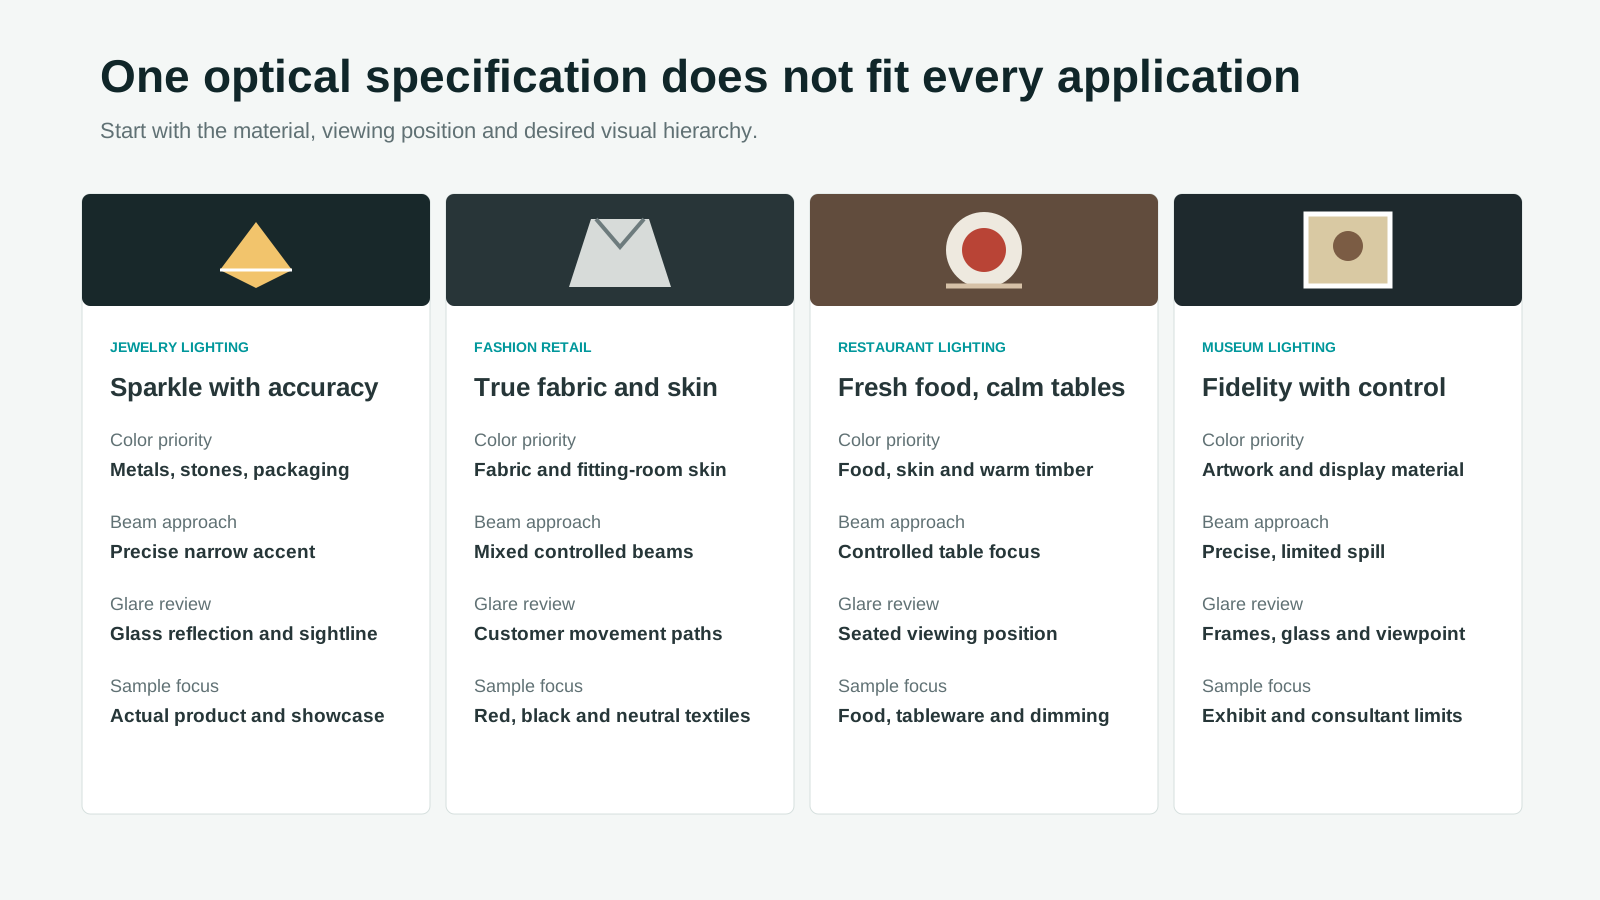
The table below is a selection direction, not a fixed standard. Final parameters depend on the object, ceiling, viewing position, layout and control system.
| Application | Color Rendering Priority | R9 Priority | Color Consistency | Beam Approach | Glare Control | Testing Focus |
|---|---|---|---|---|---|---|
| Jewelry display | Very high | High for warm materials | High | Narrow controlled beam | Direct and reflected glare | Jewelry, glass and packaging |
| Fashion retail | Very high | High | High | Mixed controlled beams | Shield customer sightlines | Fabrics and mannequins |
| Fitting room | Very high | High for skin tones | High | Medium, even approach | Soft low-glare lighting | Skin and garment comparison |
| Restaurant table | High | Very high | Project dependent | Controlled table-focused beam | Deep recess recommended | Food, tableware and dimming |
| Hotel guest room | High | High | High | Layered medium beams | Strong comfort priority | Materials, skin and scenes |
| Hotel corridor | High | Project dependent | High | Medium uniform beam | Limit repeated glare | Spacing and guidance |
| Museum display | Very high | Project dependent | High | Precise controlled beam | Control spill and reflection | Actual exhibit and consultant limits |
| Gallery wall | Very high | Project dependent | High | Controlled wall or accent beam | Check framed reflection | Artwork and wall uniformity |
These selection directions can be compared with our retail and hospitality application experience.
Common purchasing mistakes
Selecting by CRI only
General CRI does not replace R9, SDCM information or a visual test on real materials.
Assuming higher brightness means better presentation
Excessive brightness can flatten material detail, increase glare and create poor product presentation.
Using one beam angle for the entire project
Showcases, racks, tables, corridors and walls require different coverage and contrast.
Ignoring color consistency
Visible variation across a ceiling or store network weakens a coordinated brand environment.
Reviewing samples only on a white wall
A white-wall beam does not reveal how skin, food, fabrics, timber, glass or reflective products will look.
Confirming dimming too late
The driver, control protocol and low-output behavior should be tested before project approval.
Ignoring the reflector and trim
Reflector geometry, finish and trim shielding can change both distribution and visual comfort.
How to test a high CRI LED downlight before approval
The test environment should be as close as practical to the intended project. A close-range sample-room check cannot reproduce ceiling height, viewing angle, surface reflectance or reflected glare.
- Use the actual product, fabric, food, artwork or interior material.
- Mount the sample at the intended height and distance.
- Compare at least two beam-angle options.
- Observe from the customer's normal standing or seated position.
- Check direct glare and reflections from glass or glossy surfaces.
- Compare skin tones, red objects, timber and textiles.
- Install several samples together to review color consistency.
- Test dimming at several output levels with the intended control system.
- Use photographs as supporting records, while keeping visual inspection as the main reference.
- Record the final module, reflector, trim, driver and control option.
For a broader verification framework, review our sample testing and validation approach.
How to evaluate a high CRI and low glare supplier
A high CRI supplier should be able to explain how the light performs on real materials, not only provide one number on a specification sheet.
Ask for CRI and R9 data, SDCM or other color-consistency information, photometric files, beam options, reflector and trim choices, compatible drivers, dimming information, technical drawings and sample support. Replacement and spare-part information also matters for repeated commercial projects.
For an OEM or custom program, confirm whether the manufacturer can review custom optics, appearance requirements and the complete optical specification. Any performance claim should refer to the exact approved combination.
Supplier assessment should also consider the available lighting engineering review.
How ANOVA supports retail and hospitality lighting
ANOVA can provide project configurations with CRI 95 or higher, R9 above 80 and color consistency of 3 SDCM or tighter. Availability depends on the selected product model, LED source, optic and project specification; these values are not presented as defaults for every product.
The existing LED module platform supports different spotlight-module formats, controlled narrow-beam options, reflector and trim choices, and matched driver discussions.
For larger retail or hospitality spaces, an AR111 module for larger commercial spaces can be reviewed alongside the selected downlight or spotlight housing. DALI, 0-10V, TRIAC and Casambi options may be available where applicable.
ANOVA can also support project-based samples and OEM and ODM optical or appearance development when the requirement is confirmed. The modular system approach is described further on the ANOVA Module Design page.
For selection context, review the guide to choosing commercial LED downlights and the comparison of modular with integrated downlight structures.
The related modular versus integrated downlight guide explains how optical flexibility and maintenance planning differ between product structures.
Project specification checklist
A complete optical brief helps designers, buyers and the supplier evaluate one defined configuration instead of comparing isolated headline numbers.
- Application and target material.
- Ceiling height, mounting distance and installation condition.
- Beam angle and cut-off requirement.
- CRI, R9, SDCM and CCT.
- Required lumen output and visual contrast.
- Reflector finish and trim finish.
- Driver, dimming protocol and flicker requirement.
- Sample quantity and actual-material test plan.
- Photometric file and technical drawing requirement.
- Maintenance and replacement requirement.
- OEM or custom-optics requirement.
- Project quantity and delivery schedule.
Contact ANOVA
Commercial lighting should not be selected only by wattage, lumens or the CRI headline. Retail, hotel, restaurant and museum projects also need to review R9, color consistency, beam angle, cut-off angle, reflector design, glare control, dimming and actual sample performance.
A high CRI LED downlight is most useful when its color quality and optical control are matched to the target material and viewing conditions. Share the application and installation details so the module, reflector, trim and driver can be reviewed as one system.
Use the ANOVA Module Design approach to understand how compatible components can support project-specific optical configurations.
To evaluate one defined optical configuration, discuss your optical requirements.
FAQ
What CRI is suitable for retail lighting?
High color rendering is commonly preferred where merchandise color matters. The required level should be confirmed with R9, color consistency and testing on the actual products.
Why is R9 important for food and fashion lighting?
R9 helps describe saturated-red rendering, which affects meat, skin tones, timber and red or brown fabrics. A high general CRI does not guarantee strong R9 performance.
What does 3 SDCM mean in commercial lighting?
It indicates a relatively tight grouping of light color. It can help reduce visible variation across repeated luminaires, but sample and batch management are still important.
Does a narrow beam automatically reduce glare?
No. Beam angle controls distribution. Glare also depends on source recess, cut-off geometry, aiming, brightness, reflector design and the viewer's position.
What is the difference between beam angle and cut-off angle?
Beam angle describes the spread of useful light. Cut-off angle relates to how the luminaire shields the bright source from direct view.
How should a high CRI low glare downlight for retail display lighting be tested?
Mount it at the intended height, illuminate actual merchandise, compare beams, check direct and reflected glare, review several samples together and test the planned dimming system.
Which LED spotlight module is suitable for jewelry lighting?
A compact module such as MR11 may suit precise accents, but the optic, mounting distance, display size, glass reflection and required color performance must be checked together.
What information should a lighting supplier provide before sample approval?
Request CRI and R9 data, color-consistency information, beam or photometric data, driver and dimming details, drawings, component references and the approved sample configuration.