Custom lighting projects are successful when the process is clear. A buyer may begin with a project drawing, a reference fixture, a target effect or a product gap in the market. The manufacturer’s role is to convert that requirement into a practical configuration that can be sampled, tested, produced and inspected.
For LED modules and commercial downlights, the development path usually includes requirement confirmation, product configuration, sample review, factory testing, production planning and shipment inspection. A structured custom LED lighting OEM/ODM process helps buyers confirm responsibilities at each stage.
Send your application, ceiling condition, beam angle and dimming requirements for a practical review.
Step 1: Define the requirement
The first step is to define where and how the product will be used. Application, ceiling type, installation depth, beam angle, CCT, CRI, dimming protocol, IP rating and finish should be discussed before sample preparation.
A clear requirement saves time. It also helps the supplier identify whether an existing modular LED engine platform is suitable or whether additional development is needed.
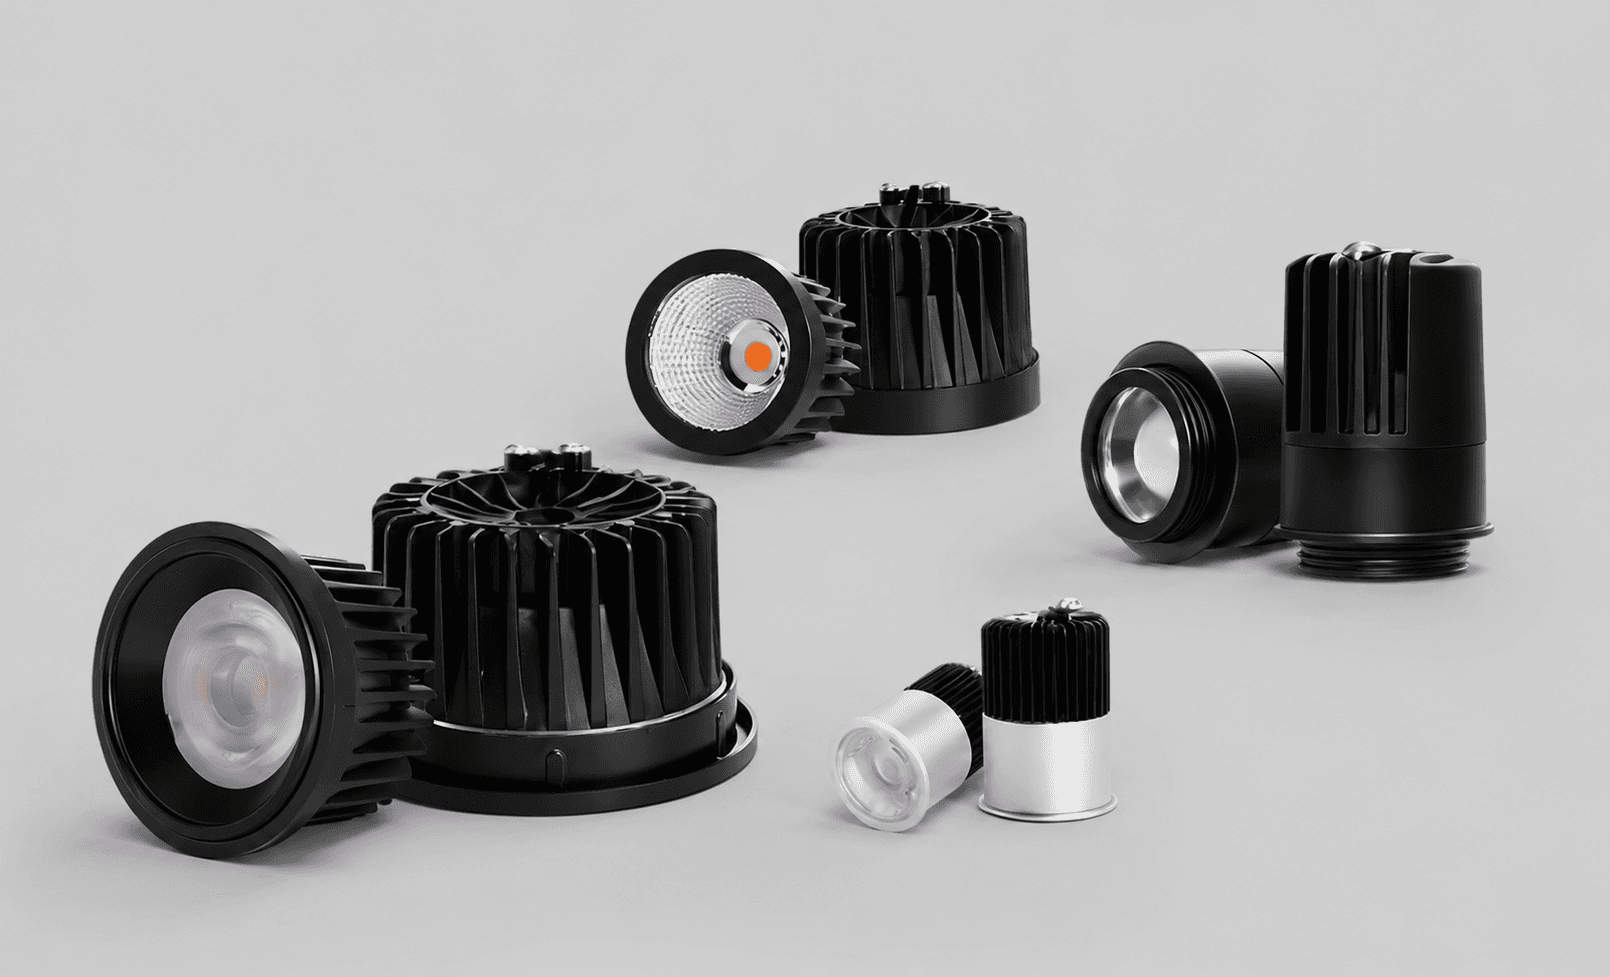
A defined brief is the starting point for the complete ODM development process.
Step 2: Configure the product system
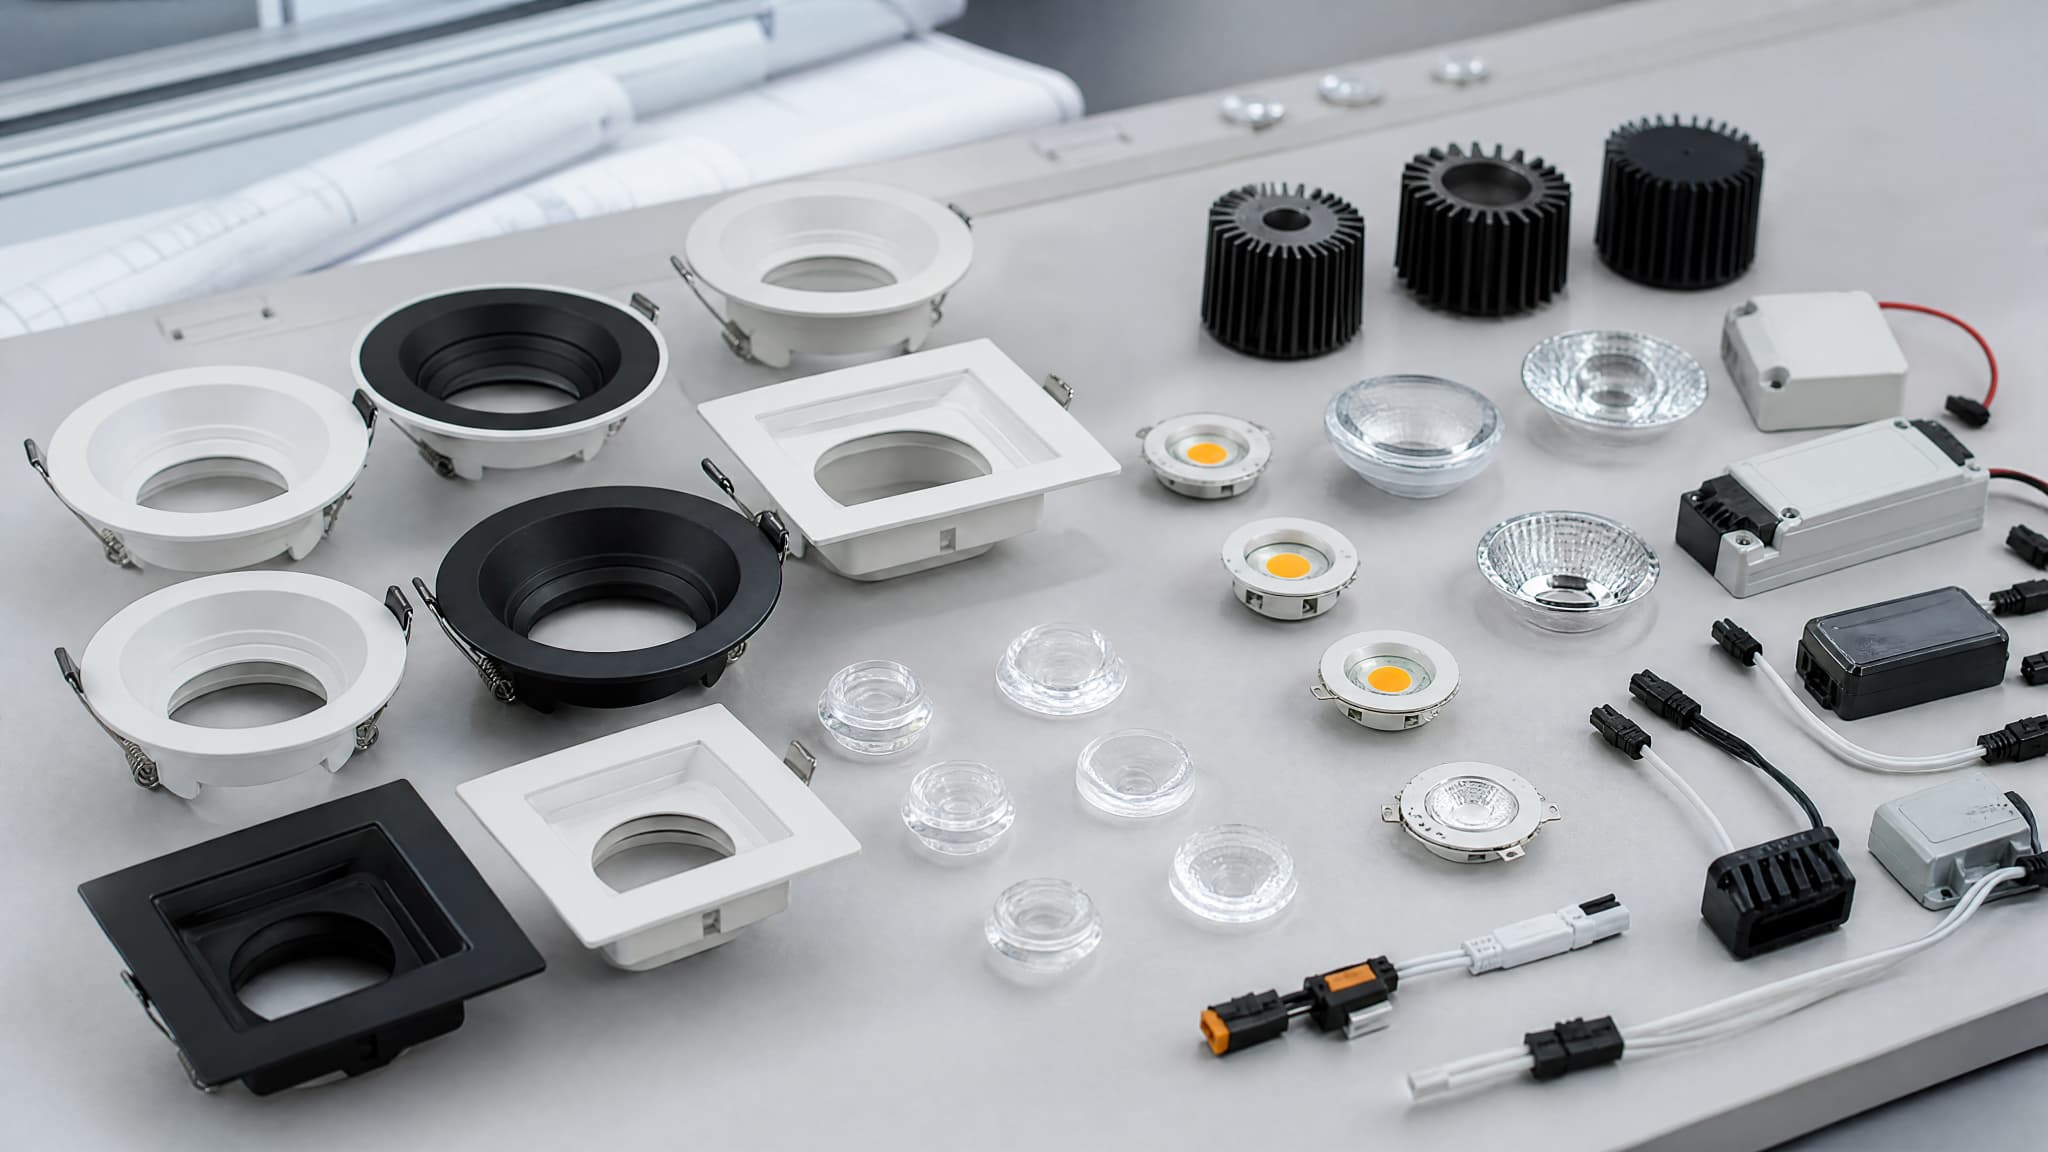
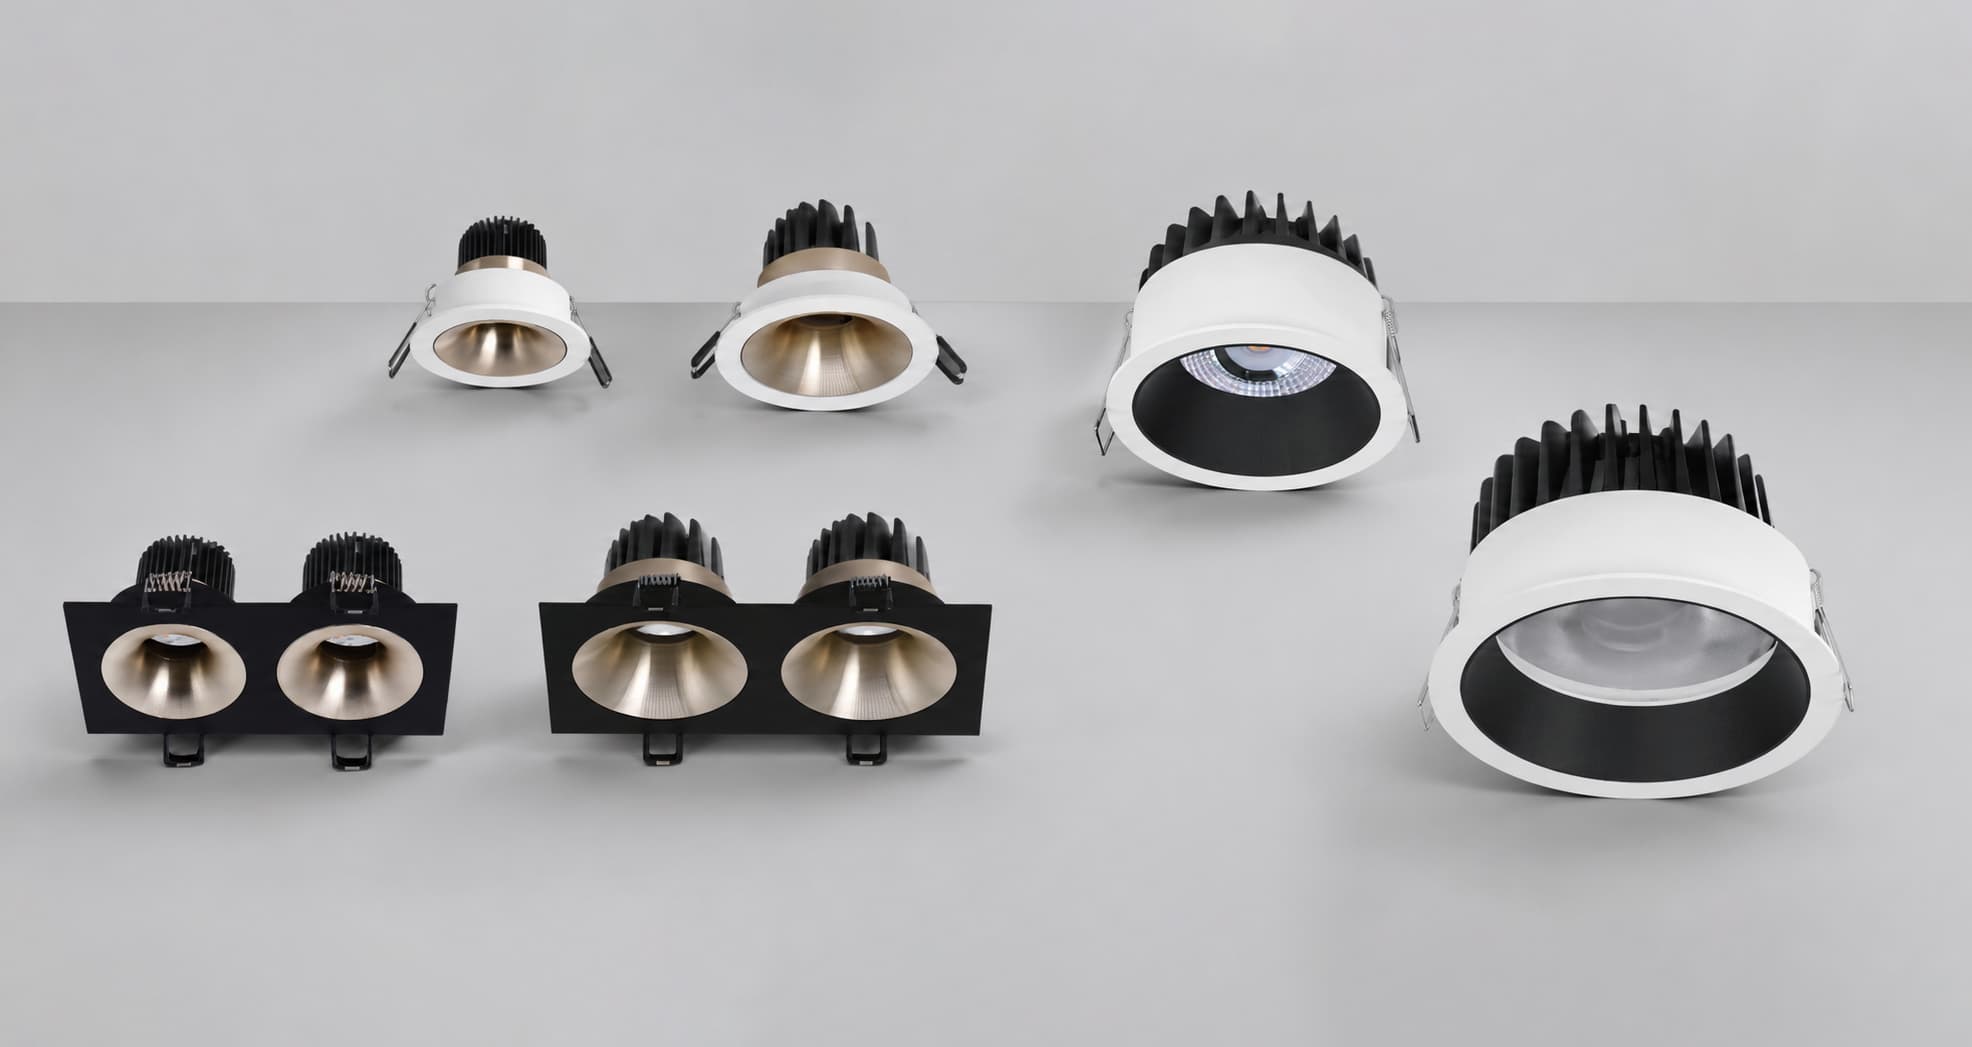
In a modular lighting platform, configuration may include LED engine, optic, trim, housing, reflector finish and driver. These choices should be reviewed together because a change in one part can affect performance or installation.
For example, an adjustable retail downlight with high CRI and narrow beam may require different optical review than a low-glare hotel downlight with warm dimming.
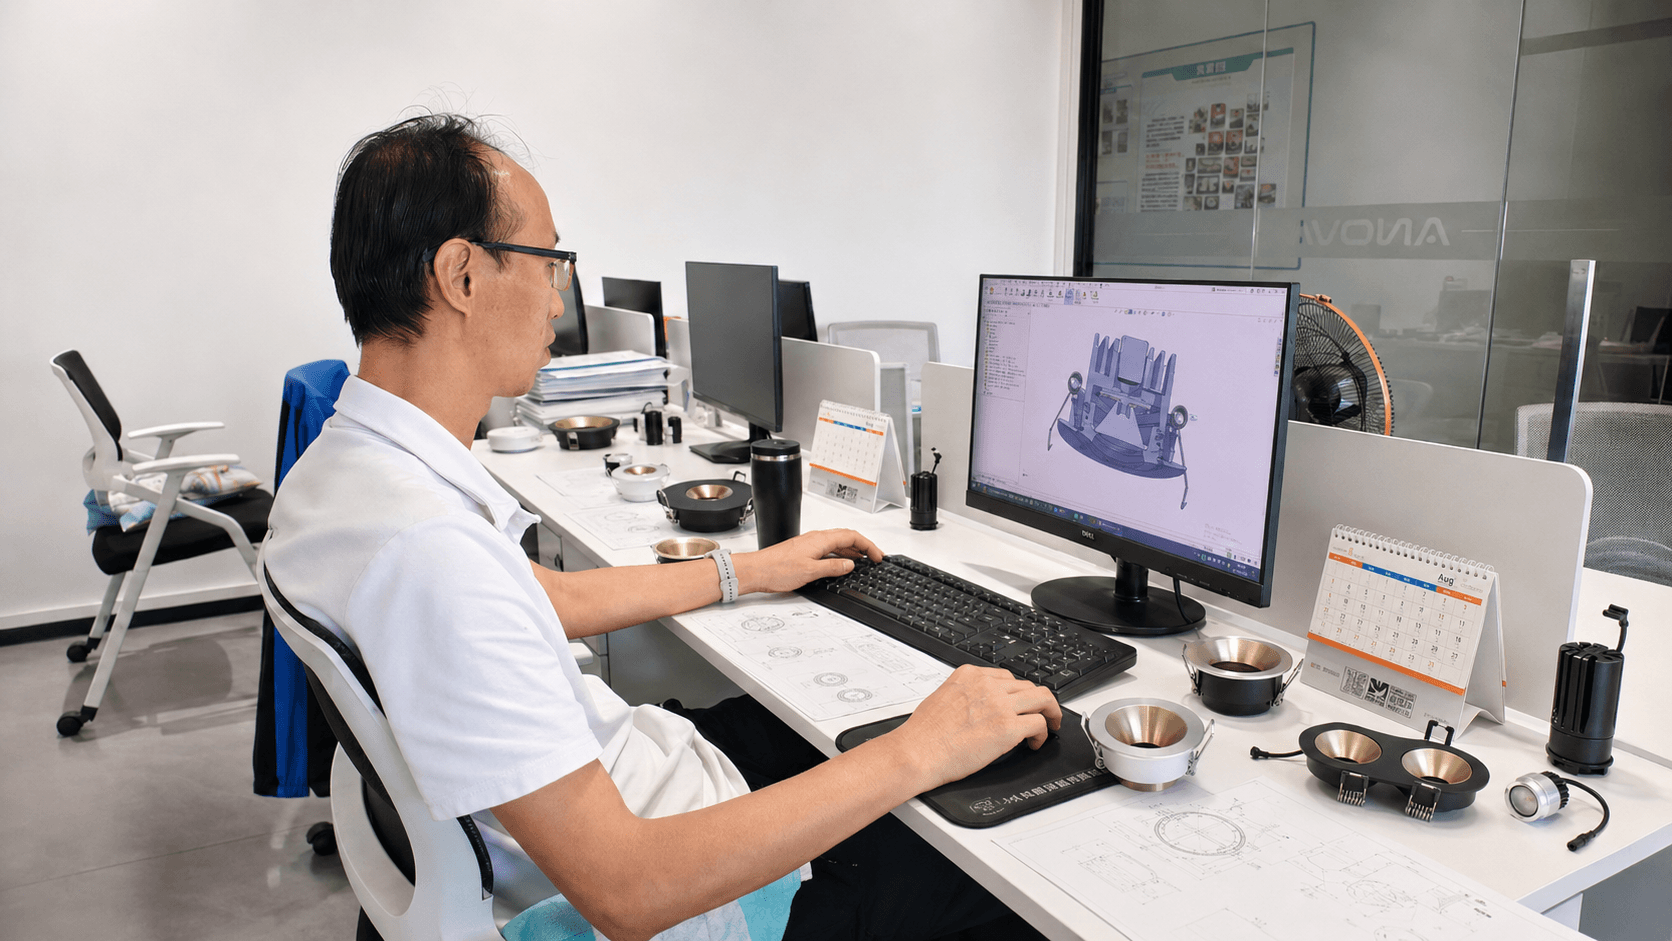
| Project input | Configuration decision |
|---|---|
| Application | Downlight type, aiming function, glare level |
| Lighting effect | Beam angle, reflector, lens |
| Control system | Driver protocol and dimming behavior |
| Installation | Housing depth, trim style, accessory set |
System choices can be reviewed through an engineering review of the product configuration.
Step 3: Prepare and review samples
Samples should represent the intended production configuration as closely as possible. During review, check appearance, beam effect, color temperature, dimming behavior, installation fit and packaging approach.
If a sample requires changes, document them clearly. A written change list protects both the buyer and the manufacturer before mass production begins.
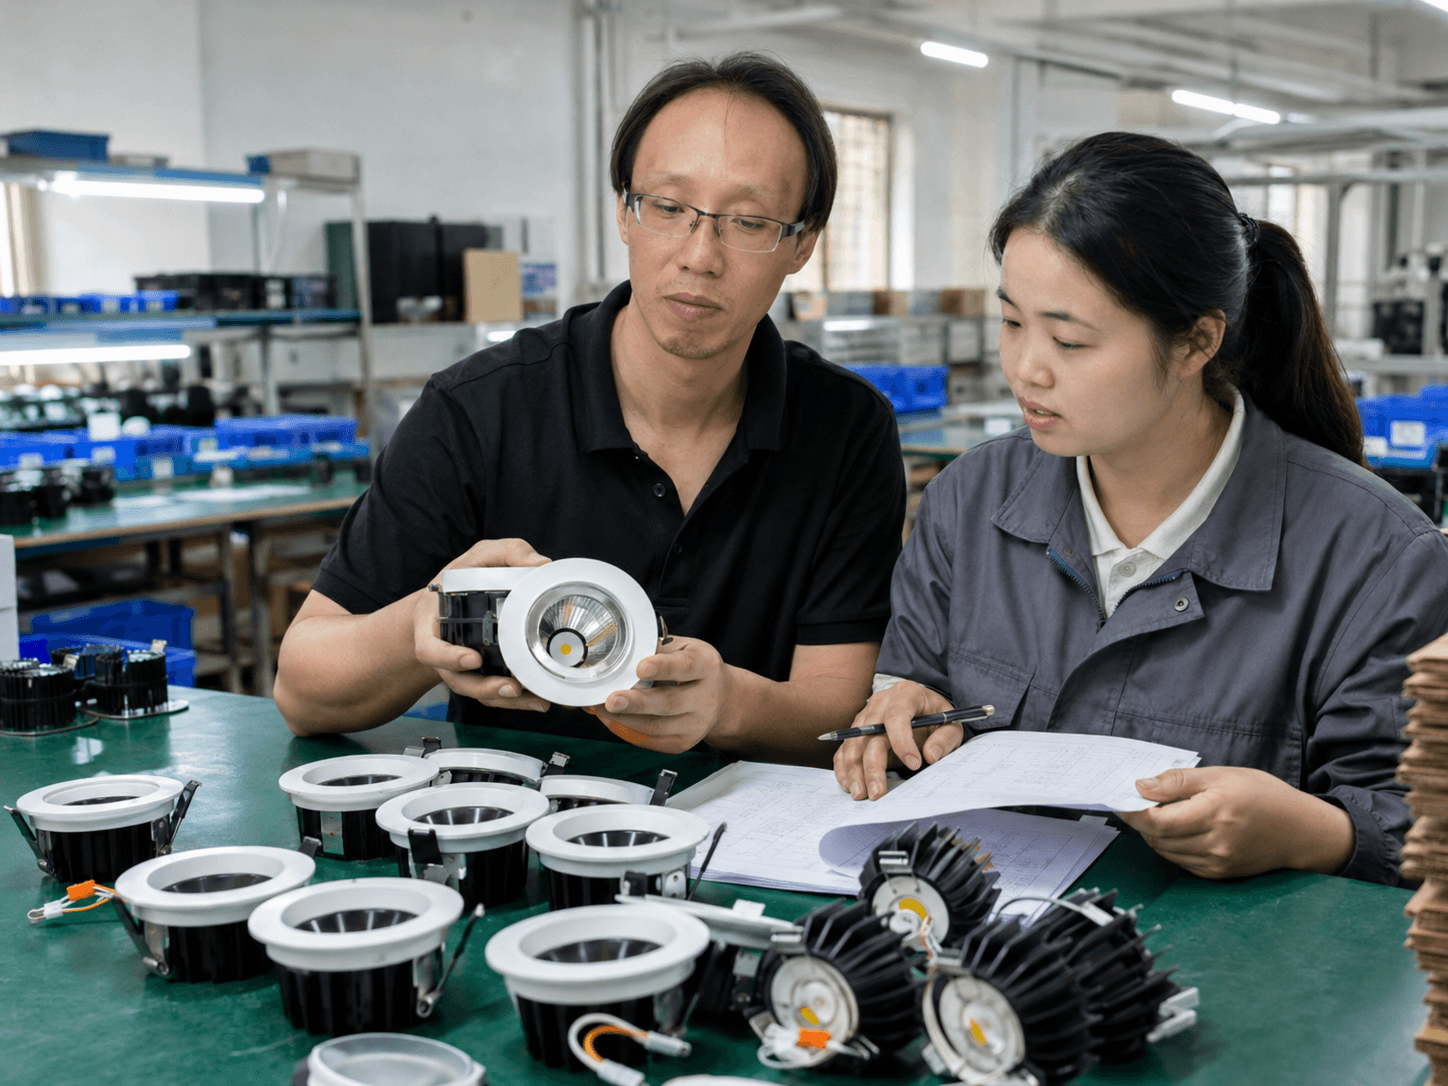
Step 4: Factory testing and production preparation
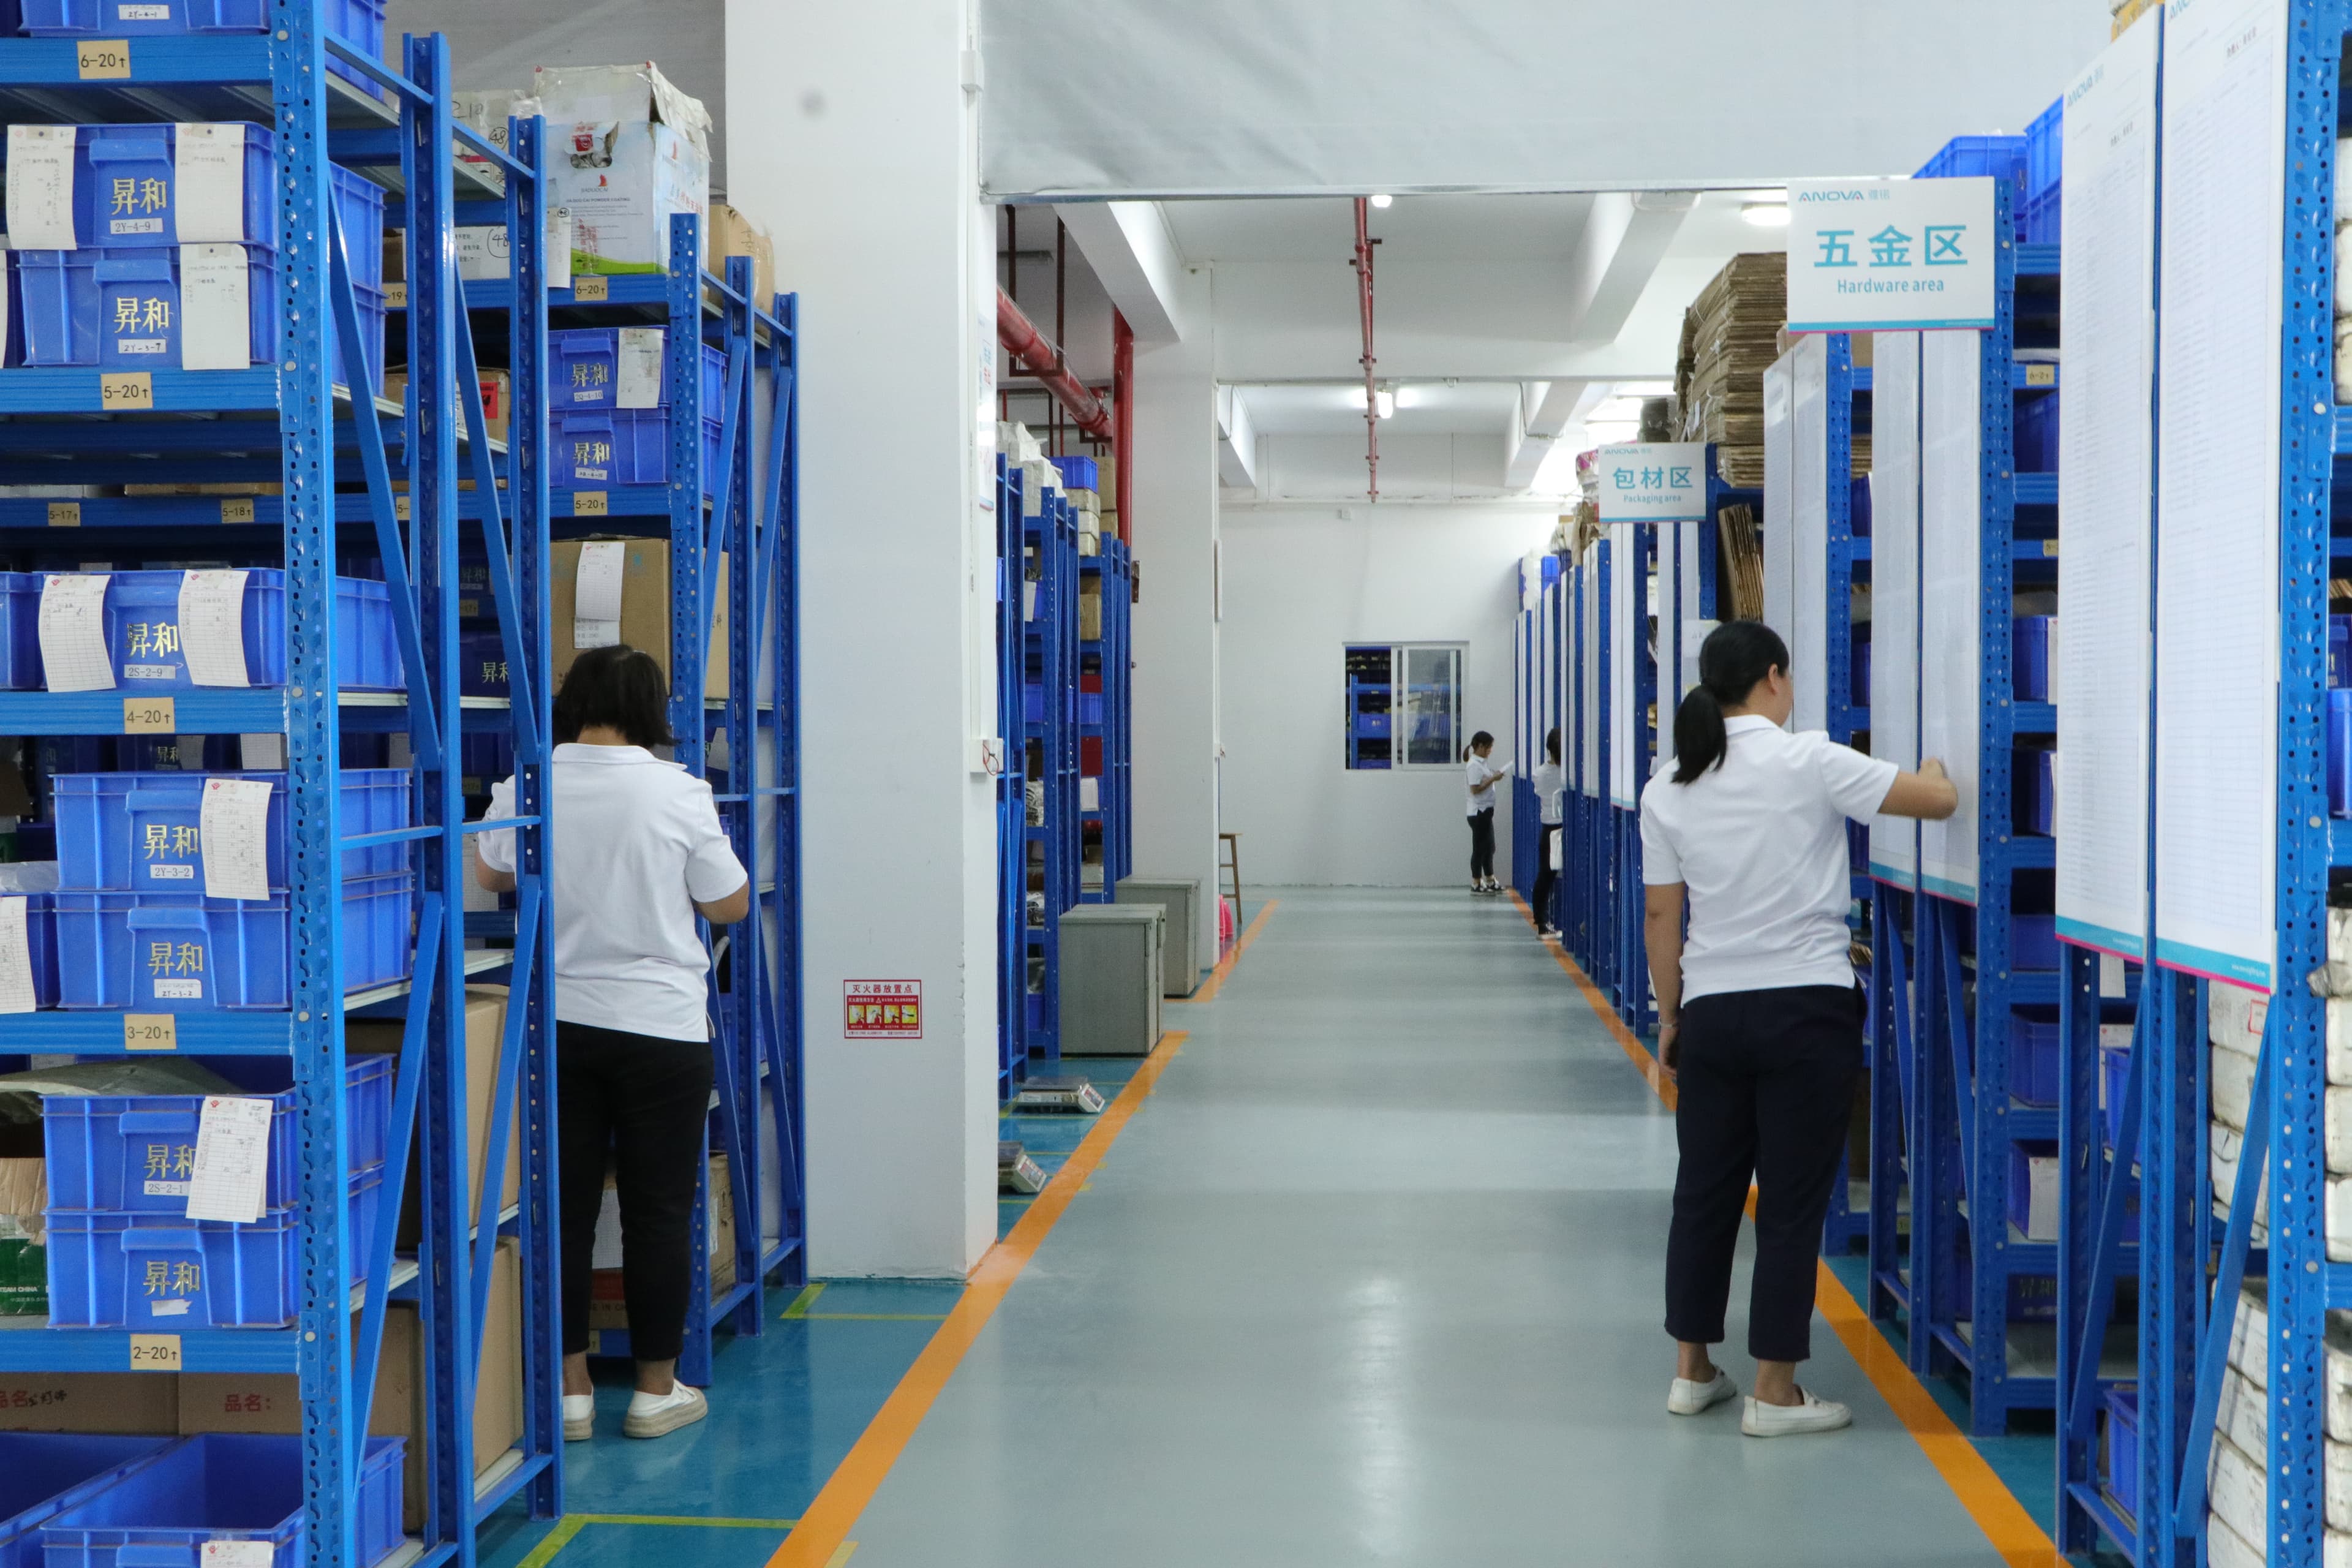
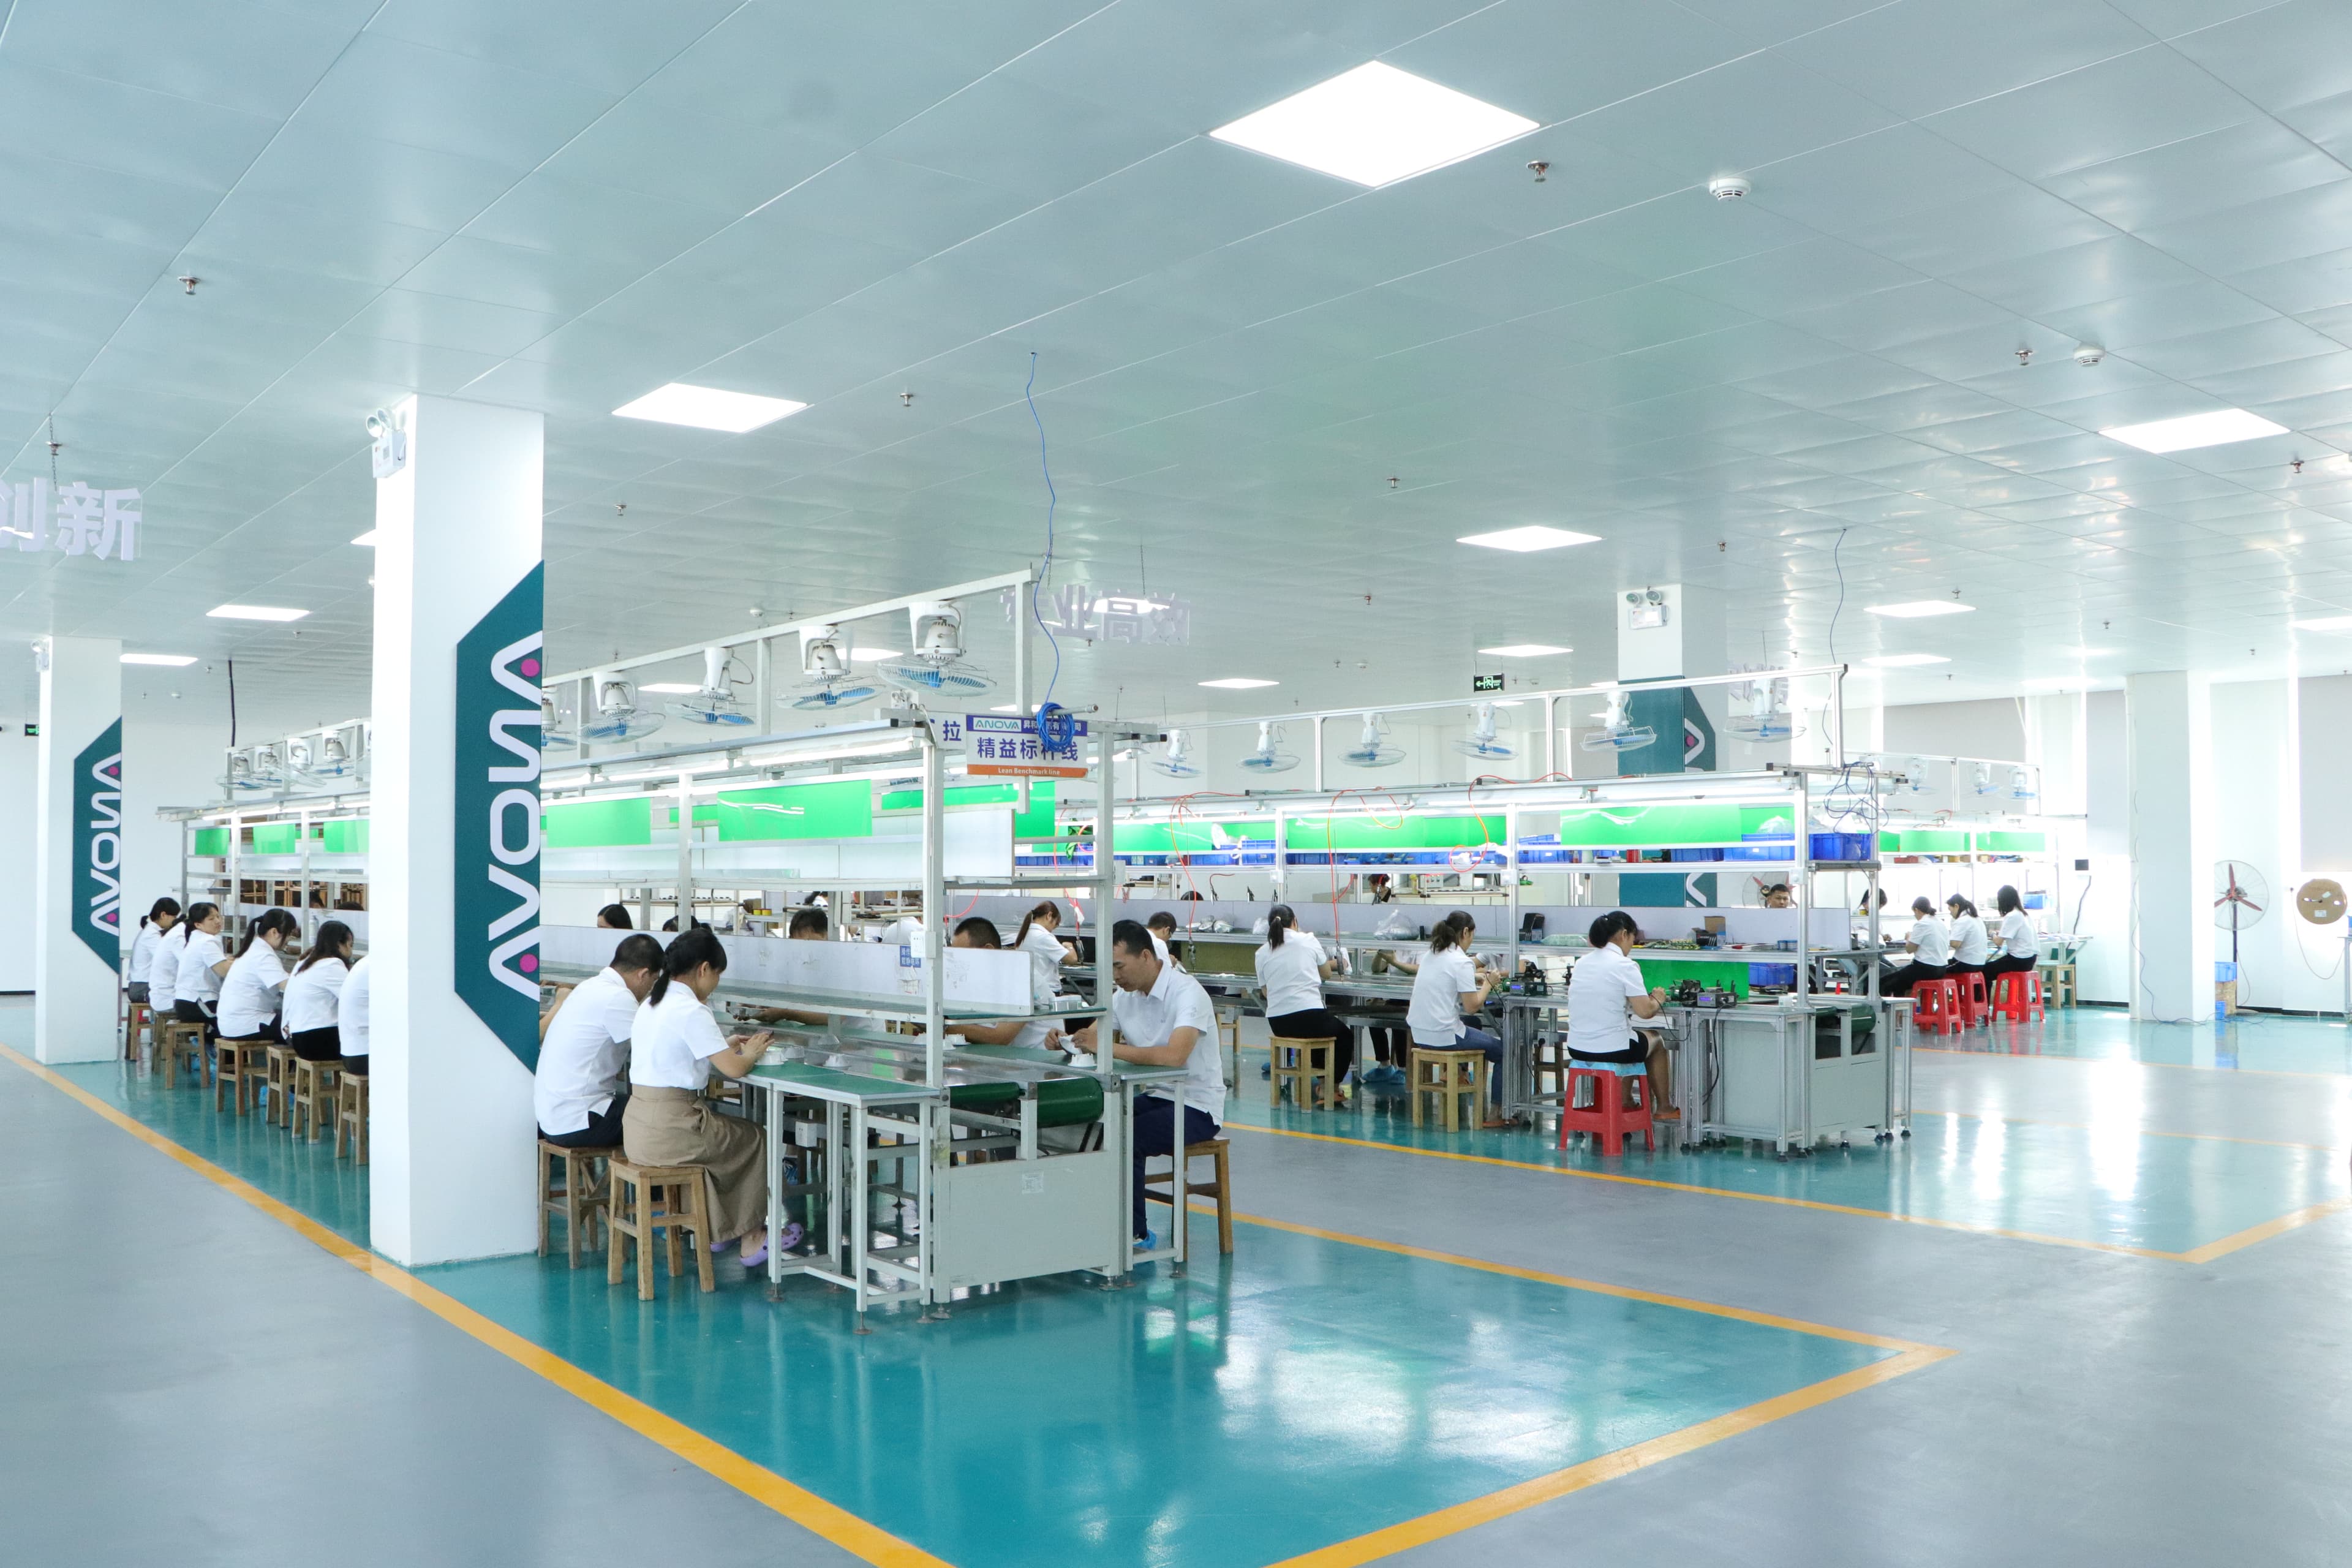
Before production, the supplier should confirm the approved configuration, bill of materials, labels, packaging and inspection standards. Factory testing should be appropriate for the product and should focus on electrical function, optical consistency, thermal management and visible quality.
Production preparation also includes material readiness, driver matching and packaging confirmation. These details are easy to overlook but can affect delivery.
Supplier evaluation should verify who owns engineering decisions, how revisions are recorded, which tests apply to the approved configuration, how non-conforming results are handled and what evidence will accompany approval. Use a practical lighting manufacturer selection checklist to compare these controls before committing to production.
- Confirm the drawing, bill of materials and sample revision that will govern production.
- Request test records that apply to the exact product configuration and destination market.
- Agree how changes, non-conforming results and corrective actions will be documented.
- Confirm inspection criteria, packaging approval and the records retained for repeat orders.
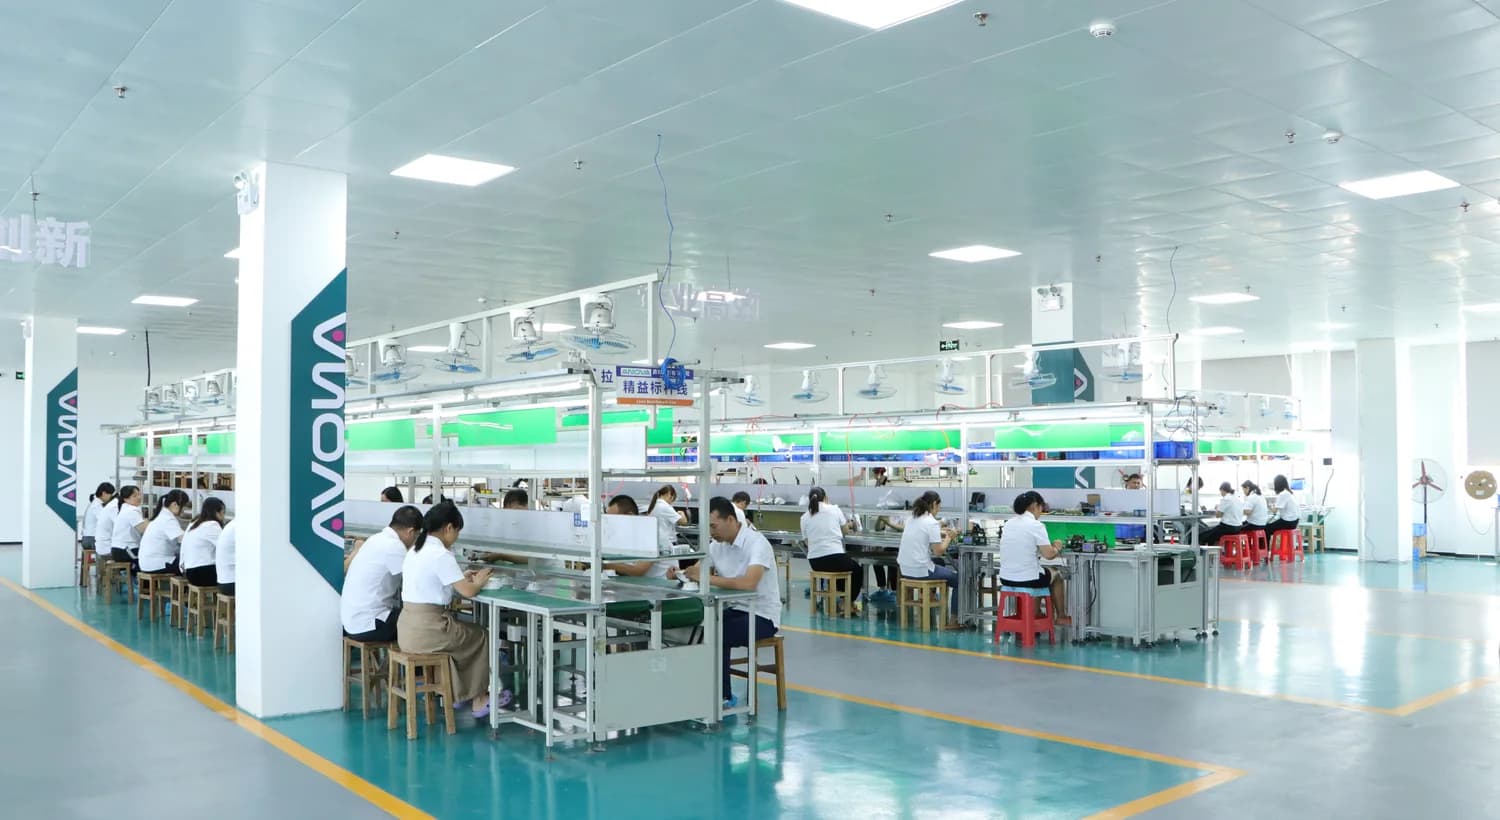
Before release, the approved sample should follow testing and validation before production.
Step 5: Shipment inspection and project support
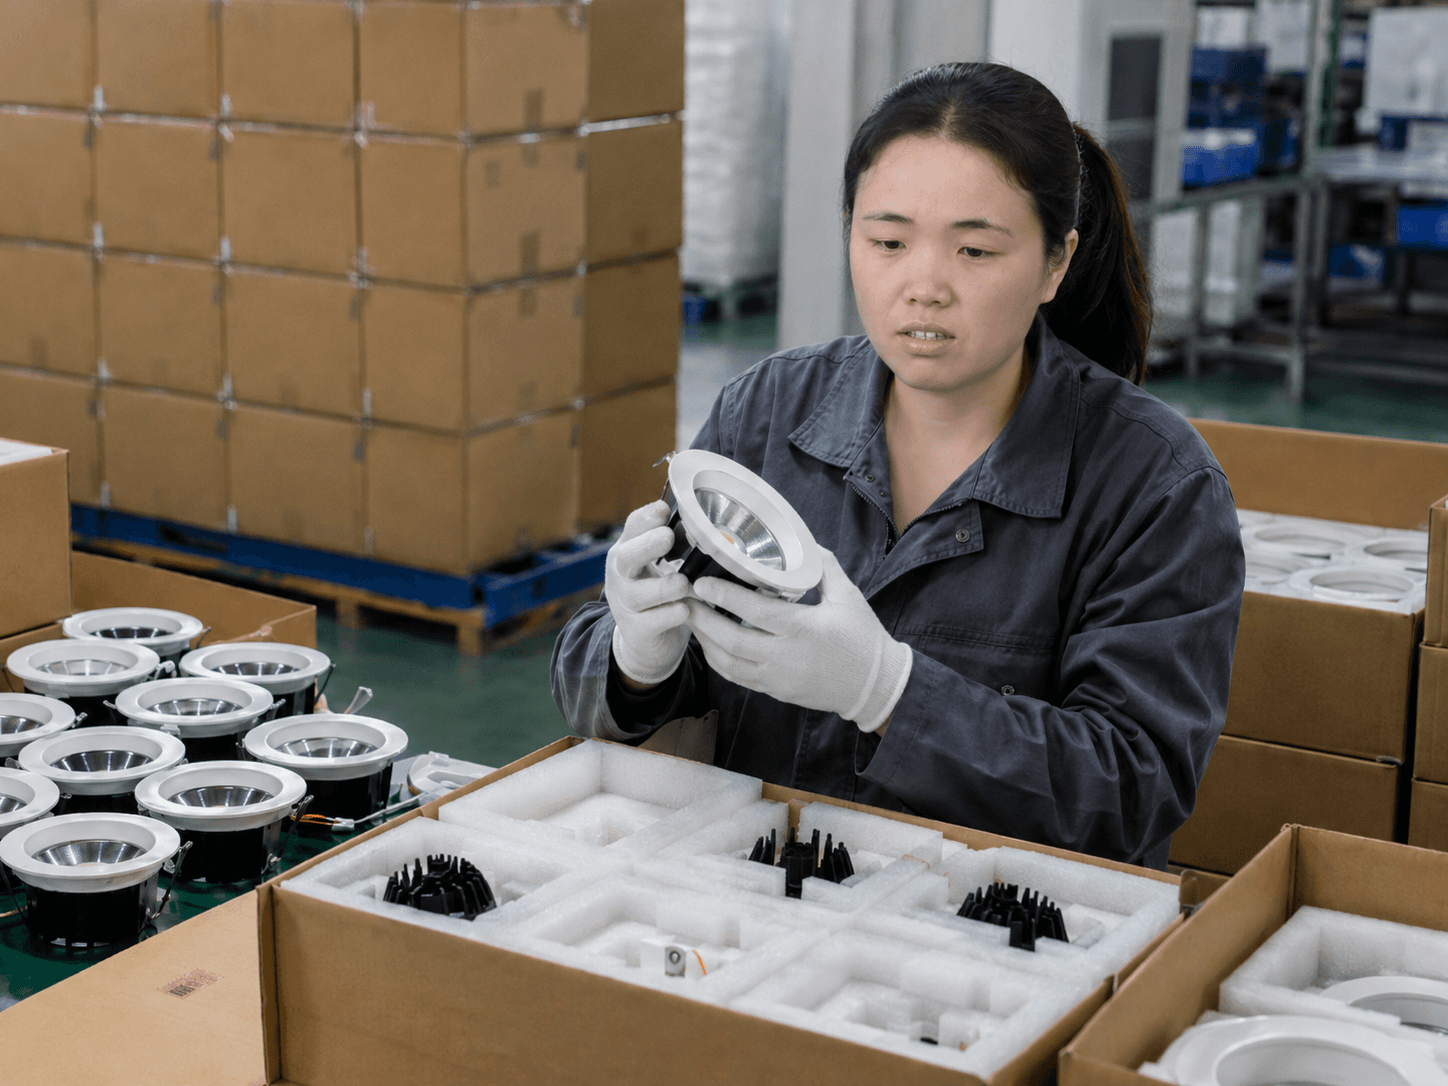
Shipment inspection checks whether the goods match the confirmed order. Quantity, carton marks, product labels, finish, accessories and packaging protection should be reviewed before dispatch.
For international buyers, clear project records make repeat orders easier. Keep the final product code, sample notes, driver references and packaging details available for future projects.
Conclusion
Custom lighting projects do not need to be confusing. With a structured process, buyers can move from concept to production with fewer surprises.
The best results come from early requirement clarity, realistic sample review, disciplined testing and careful shipment inspection.
To begin with a defined requirement, send your custom lighting project brief.