This commercial downlight specification checklist is designed for buyers who already understand the basic selection principles and now need to record a project requirement. It organizes application, beam angle, glare control, CRI, CCT, driver, installation and inspection information before quotation or sample approval.
Use the main commercial downlight selection guide for detailed explanations of each decision. Use this checklist to turn those decisions into a concise fixture brief for lighting brands, contractors, consultants and professional buyers.
Share the completed application, optical, installation and control requirements for a configuration review.
Checklist 1: Record the Project Application
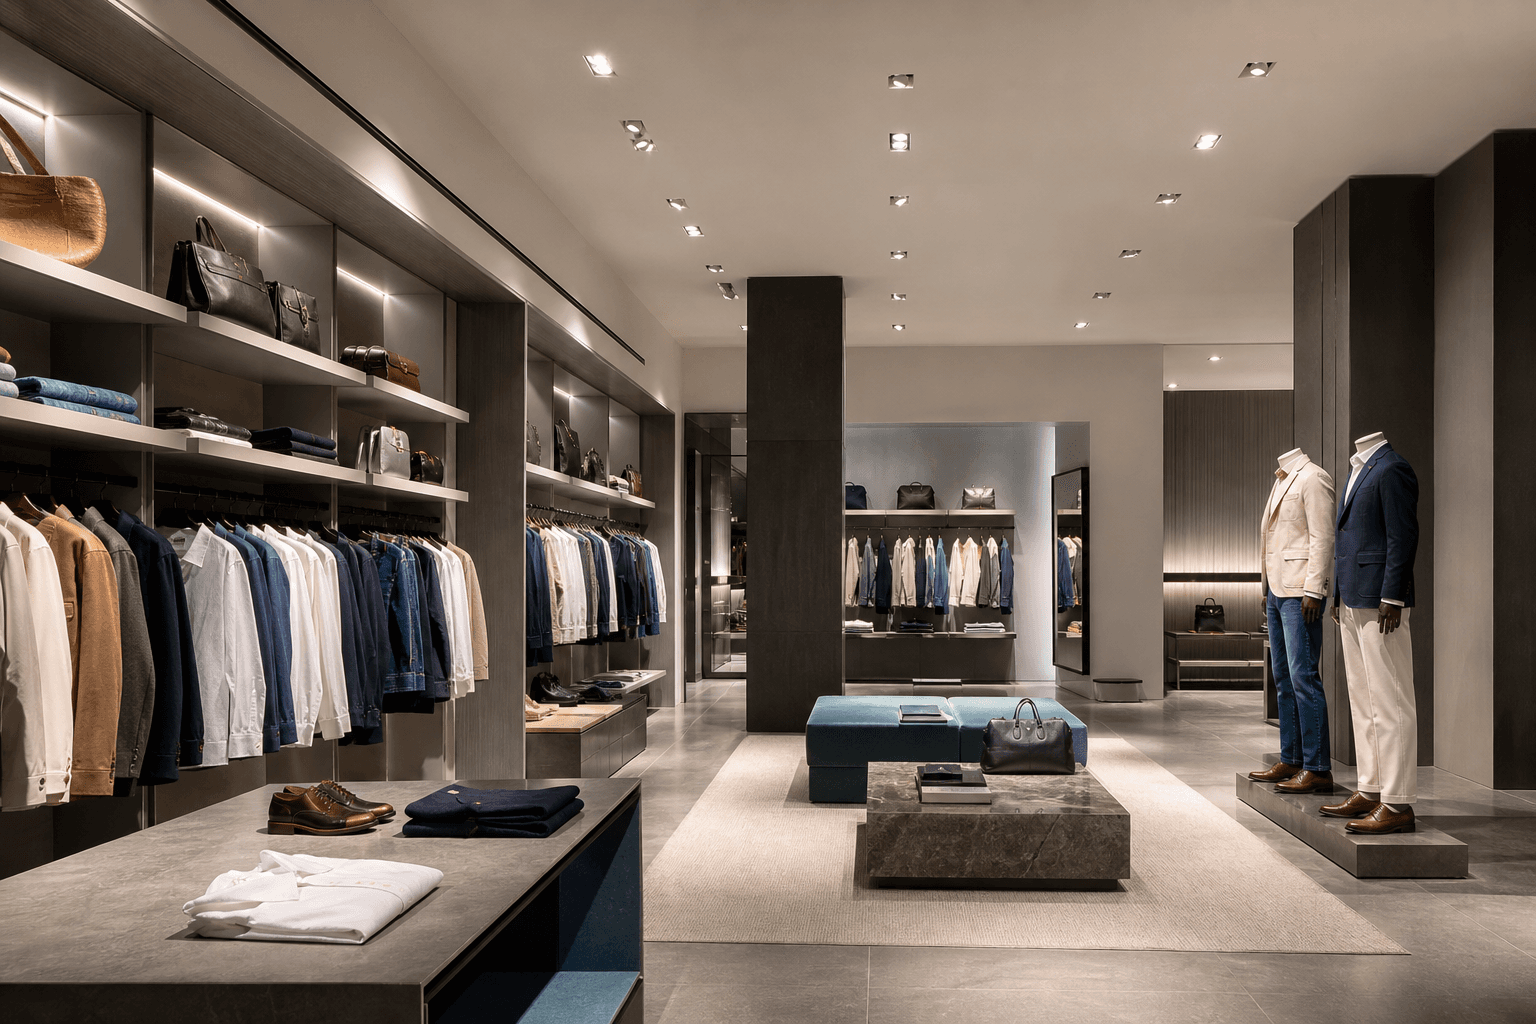
The application determines the lighting priority. Hospitality spaces often need warm ambience, smooth dimming and low glare. Retail stores need accurate color rendering and focused accent light. Offices need comfortable general illumination and visual consistency. Galleries may need controlled beam angles and high color fidelity.
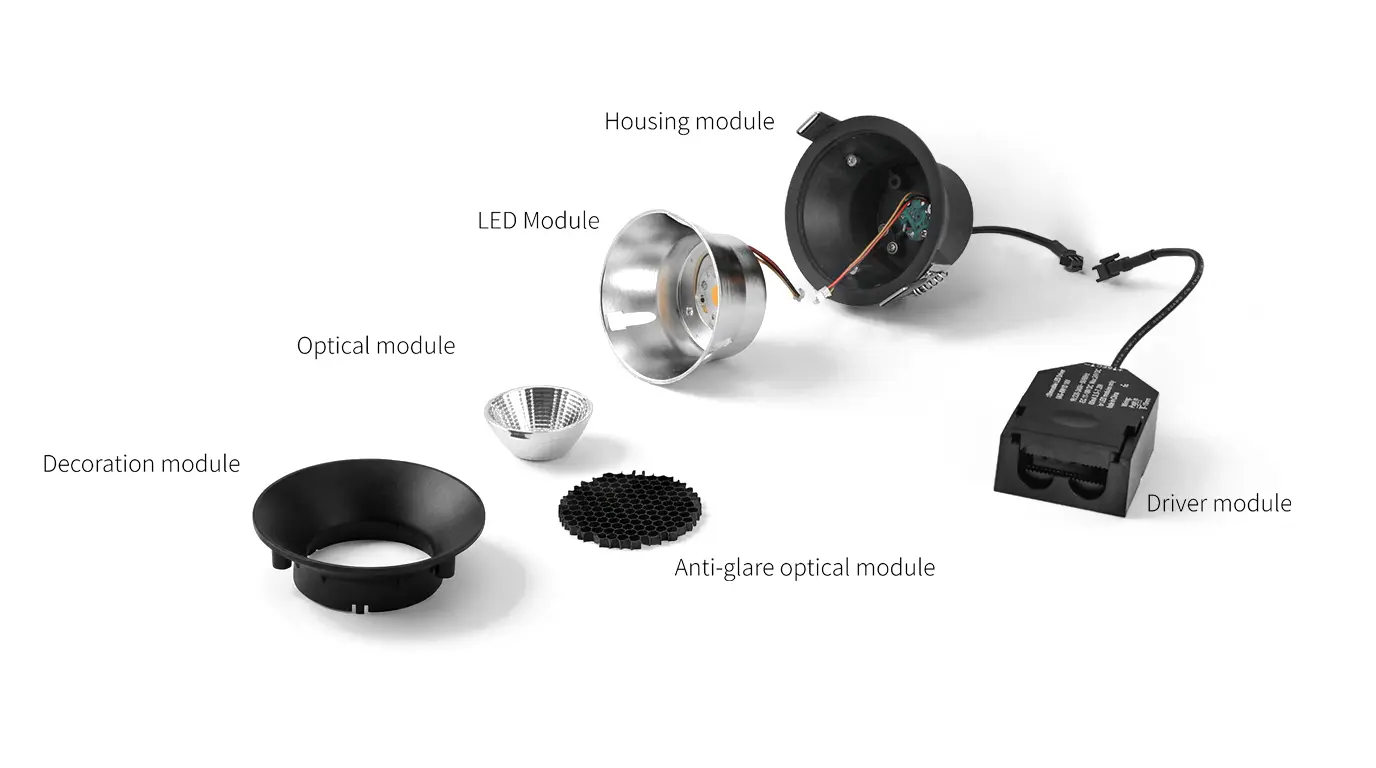
Before requesting a quotation, prepare room type, ceiling height, mounting method, target lighting effect and control system information. This reduces back-and-forth and helps the manufacturer recommend a realistic downlight frame, LED module and driver combination.
| Application | Common priority | Typical consideration |
|---|---|---|
| Hotel | Comfort and atmosphere | Warm CCT, dimming, low glare |
| Retail | Product visibility | CRI, accent beam, adjustable frame |
| Office | Visual comfort | UGR control, uniformity, driver compatibility |
| Gallery | Controlled display | Narrow beam, color fidelity, flexible aiming |
See how these choices vary across our commercial project application experience.
Checklist 2: Specify Beam Angle and Lighting Effect
Beam angle controls how concentrated or wide the light appears. Narrow beams such as 15 or 24 degrees are often used for accent lighting, product displays and artwork. Medium beams such as 36 degrees support balanced illumination. Wider beams such as 60 degrees are better for general lighting or lower ceilings.
A good downlight supplier should help you match beam angle to ceiling height, spacing and surface target. In sample review, inspect not only the center brightness but also beam edge, spill light and whether the fixture creates unwanted scallops on walls.
- Use narrower beams for accent, display and higher contrast.
- Use medium beams for balanced commercial interiors.
- Use wider beams for general lighting and lower ceiling areas.
Checklist 3: Define Glare-Control Requirements
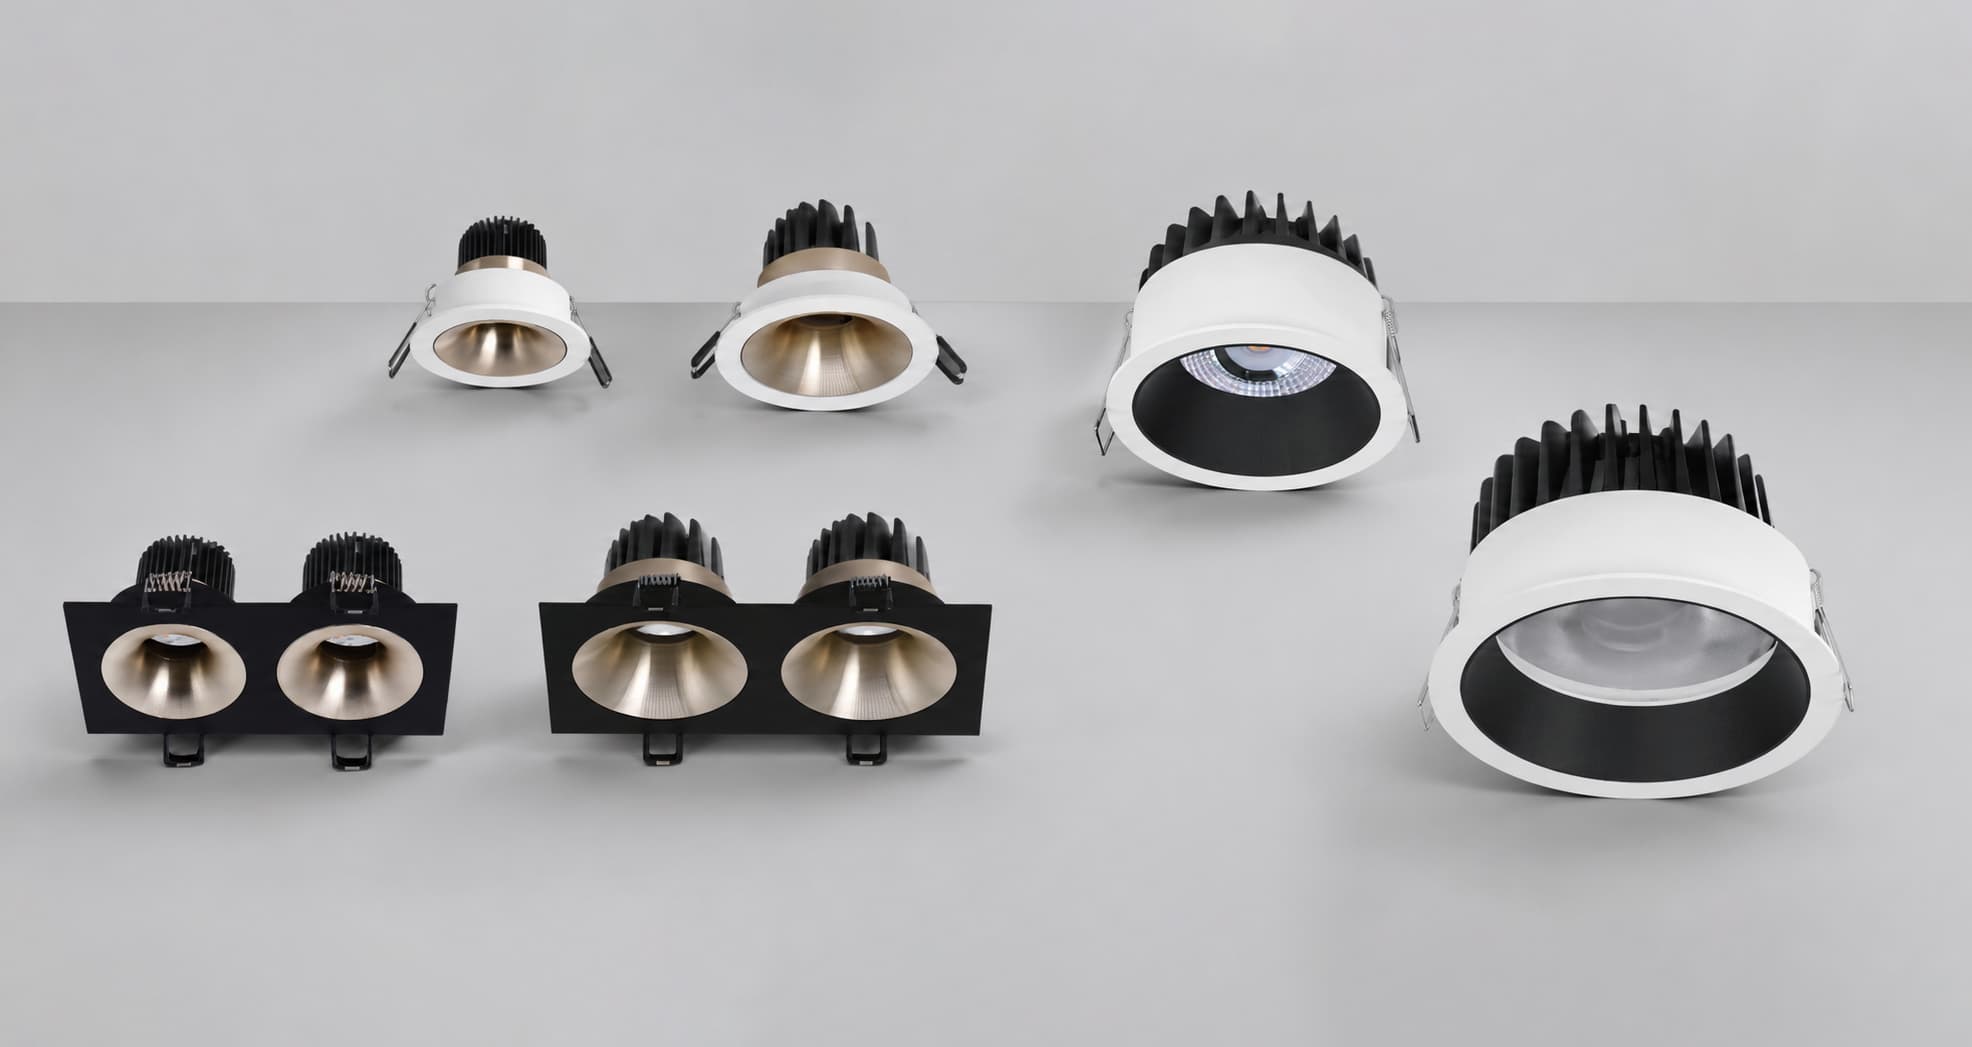
Glare is one of the most common reasons a downlight looks acceptable on paper but uncomfortable after installation. Deep regress, reflector finish, lens design, trim shape and beam control all affect visual comfort.
For offices, hotels and premium retail interiors, low-glare or UGR-conscious designs are usually worth considering. The final choice should be evaluated in context because glare depends on viewing angle, ceiling height, surface reflectance and fixture layout.
Checklist 4: Record CRI, CCT and Driver Requirements
CRI describes color rendering quality, while CCT describes the color appearance of the light. A 3000K downlight with high CRI will not feel the same as a low-CRI fixture at the same CCT. For retail, gallery and hospitality projects, CRI90 or higher is often preferred when color quality matters.
Driver selection is equally important. Triac, 0-10V, DALI and Casambi solutions serve different control environments. The selected driver should match the project wiring, dimming expectation and regional installation practice.
Checklist 5: Confirm Installation and Pre-Shipment Checks
Before shipment, inspection should cover visible finish, accessory completeness, label information, packaging protection and sample consistency. For project orders, buyers should also confirm product codes, CCT labels, beam angle markings and driver references.
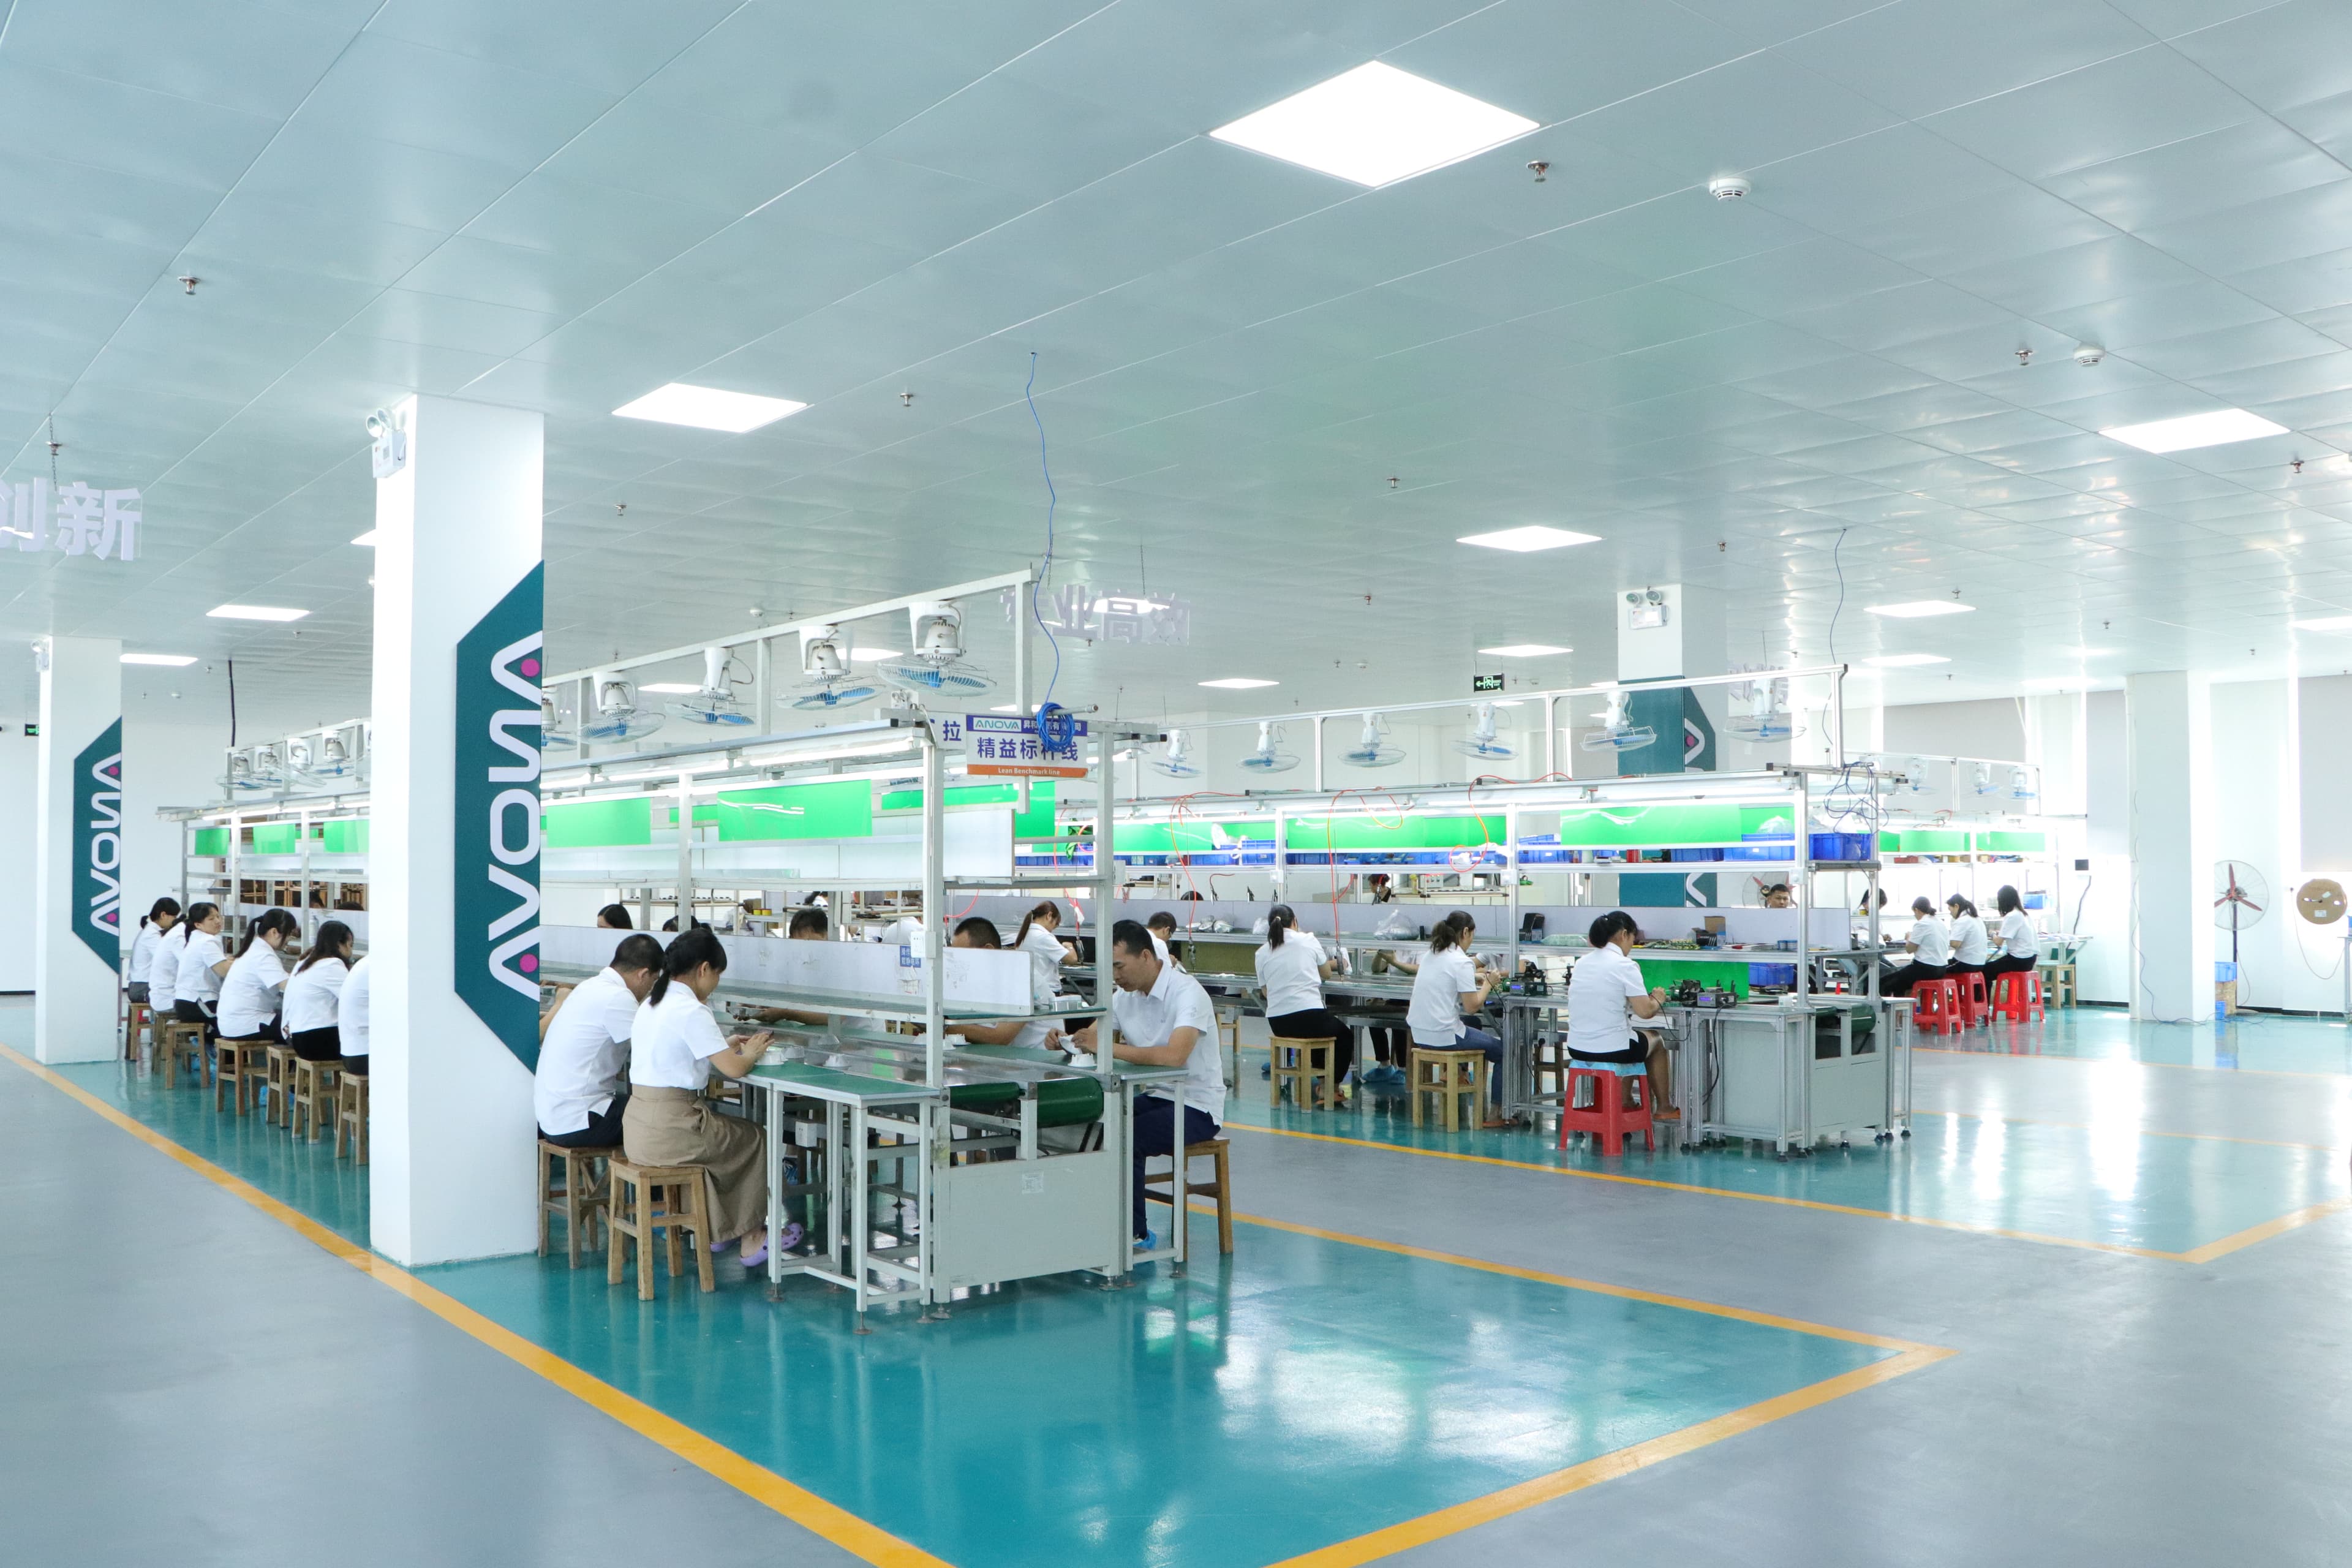
A shipment inspection does not replace factory testing, but it helps catch communication errors before goods leave the facility. This is especially important when a project contains several trim colors, beam angles or driver versions.
Shipment checks should follow an agreed testing and inspection approach.
Conclusion
A usable commercial downlight specification records the application, optical targets, color quality, controls, installation constraints and inspection points in one place.
Send the completed requirements with project drawings, ceiling details and quantities before sampling.
For help narrowing the configuration, share your downlight project requirements.